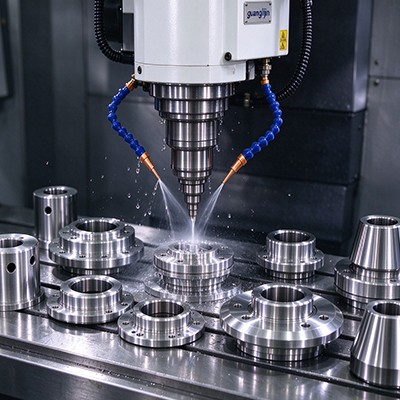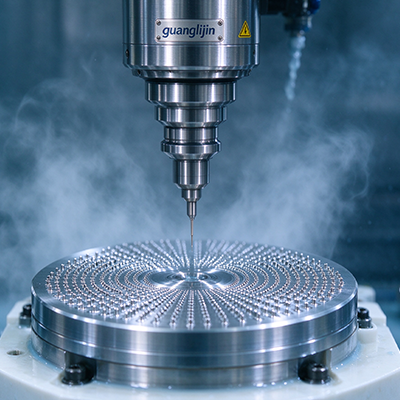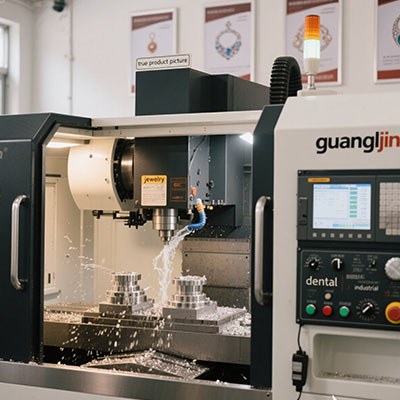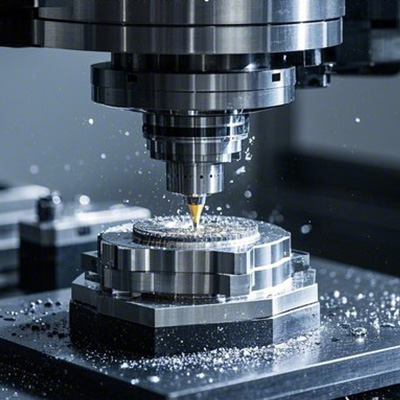
Beaded jewelry asks a different question of a CNC machine. The beads are small, the holes are tiny, and the pattern must repeat perfectly across dozens of pieces. Handcrafted ornaments carry a design intention that must survive the machining. This guide covers the engraving solutions that make fine beaded jewelry production reliable.
The Bead Problem: Tiny Holes, Tight Spacing
A bead may be 6 mm across. The hole may be 0.8 mm. The spacing between holes on a strand must be consistent, or the pattern looks uneven.
At that scale, the tool matters. A 0.5 mm drill deflects easily. Runout of 0.005 mm shifts the hole position. The drill walks on the surface before it bites.
Therefore, the beaded jewelry process starts with the tool and the spindle. A precision spindle with low runout and a sharp drill holds the hole position. A worn spindle produces off-center holes and broken drills.
Spindle Runout and Hole Position
Runout is the wobble of the tool at the spindle. On beaded jewelry, runout shows up as hole position error. A 0.01 mm runout moves the hole by the same amount.
Measure runout inside the taper with a dial indicator. Target under 0.005 mm for bead work. High-precision jewelry spindles hold under 0.002 mm.
Collet quality matters too. A worn collet adds runout even when the spindle is tight. Replace collets on a schedule. Check the collet bore for chips and wear.
Our team measured hole position on three jewelry machines in 2025. Two held hole position within 0.008 mm. One held 0.02 mm. The high-runout machine produced beads that did not thread cleanly. The spindle was the difference.
Comparing Two Beaded Jewelry Setups: Project A vs. Project B
| Parameter | Project A: Precision Bead Setup | Project B: General-Purpose Setup |
|---|---|---|
| Spindle runout | Under 0.003 mm | 0.012 mm |
| Drill type | Carbide micro-drill, sharp | Standard drill, worn |
| Hole position error | Under 0.008 mm | 0.02 mm |
| Threading result | Clean, consistent | Snags, uneven |
| Drill breakage rate | Low | High |
| Scrap rate on bead work | 2.4% | 12.1% |
Project A invested in a precision spindle and sharp drills. Project B saved on hardware and lost it on scrap and broken drills. Fine beaded jewelry rewards the precision setup.
Drill Selection for Bead Holes
Bead holes need sharp drills. A dull drill rubs the surface before it bites. The hole position shifts and the drill breaks.
Carbide micro-drills hold an edge longer than high-speed steel. They resist wear on hard materials. For precious metals, polished carbide drills cut cleanly.
Drill point geometry matters. A 130-degree point bites faster than a 118-degree point. A split point reduces walking on the surface. Choose the geometry for the material.
Research on micro-drilling shows that tool runout and drill sharpness dominate hole position error at small scales. Work published on micro-machining supports that finding. The beaded jewelry machine must control both.
Pattern Repeatability Across a Strand
A beaded strand carries a repeating pattern. The beads must be identical so the pattern reads correctly. Small variations in hole position or engraving depth break the pattern.
Repeatability comes from a consistent process. The same fixture, the same tool, and the same parameters for every bead. A fixture that locates each bead identically keeps the pattern aligned.
A rotary axis helps on engraved beads. The bead mounts on the axis and the tool engraves around the circumference. The axis must hold the bead steady and rotate precisely.
Step-by-Step: Setting Up a Beaded Jewelry Engraving Job
- Check spindle runout. Target under 0.005 mm inside the taper.
- Inspect and replace worn collets. A worn collet adds runout.
- Select a sharp carbide micro-drill. Match the point geometry to the material.
- Mount the bead in a locating fixture. Confirm the hole position repeats across beads.
- Cut a test bead and inspect under magnification. Check hole position and edge quality.
- Adjust speed and feed. Reduce speed if the drill walks or breaks.
- Run the batch and check the first and last beads. Confirm the pattern repeats.
Handcrafted Detail and CNC Precision
Handcrafted ornaments carry a design intention. The CNC machine must reproduce that intention across many pieces without losing the character.
Engraving depth and line width decide the character. A shallow line looks faint. A deep line looks heavy. The machine must hold the depth consistently across the strand.
The beaded jewelry process for handcrafted ornaments is a system: spindle, tooling, fixturing, and repeatability. Each layer supports the others. A shop that controls all four reproduces the handcrafted detail reliably.
Frequently Asked Questions
What spindle runout is needed for beaded jewelry CNC drilling?
Target under 0.005 mm inside the taper. High-precision jewelry spindles hold under 0.002 mm. Runout above 0.01 mm produces off-center holes and broken drills.
What drill type is best for bead holes?
Sharp carbide micro-drills with a split point reduce walking. A 130-degree point bites faster than a 118-degree point. Polished carbide cuts cleanly in precious metals.
Why does hole position matter in beaded jewelry?
Beads must thread cleanly and the pattern must repeat across the strand. Off-center holes cause snags and uneven spacing. Target hole position error under 0.008 mm.
How do I make a beaded jewelry pattern repeat across a strand?
Use the same fixture, tool, and parameters for every bead. A locating fixture keeps the hole position consistent. Check the first and last beads of the batch.
How do I reduce drill breakage on beaded jewelry work?
Use sharp carbide drills, reduce runout, and check collet condition. Lower spindle speed if the drill walks. Replace drills before they dull.
Fine Beaded Jewelry CNC Checklist
- Measure spindle runout and target under 0.005 mm.
- Inspect and replace worn collets.
- Select a sharp carbide micro-drill with a split point.
- Mount the bead in a locating fixture.
- Confirm hole position repeats across test beads.
- Cut a test bead and inspect under magnification.
- Adjust speed and feed to prevent drill walk.
- Check engraving depth consistency across the strand.
- Check the first and last beads of the batch.
- Log runout and drill life for the next job.