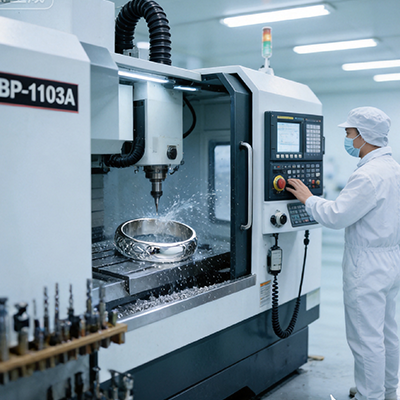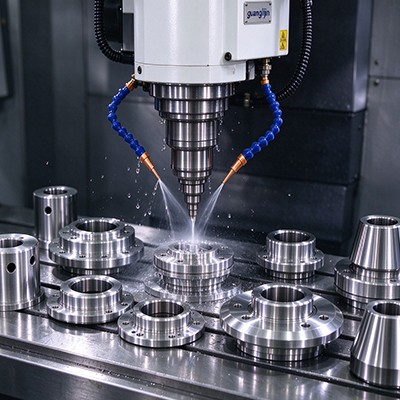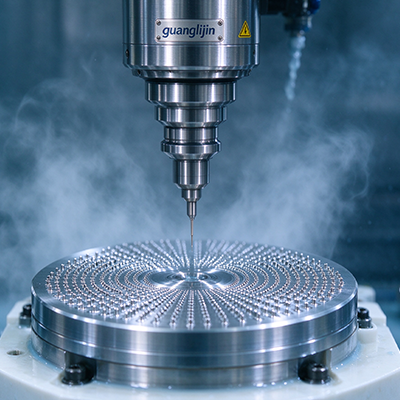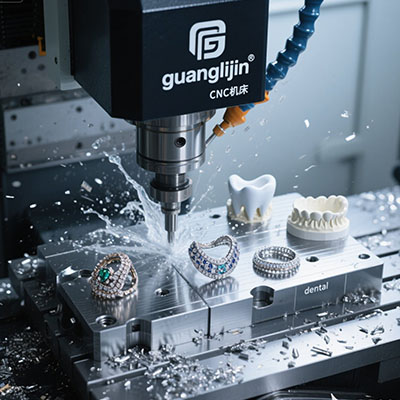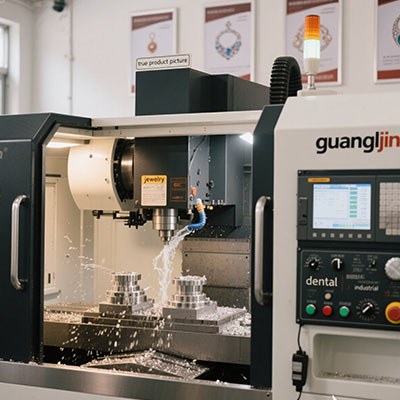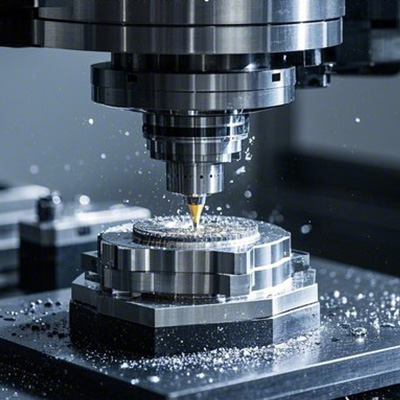
Jewelry work leaves no room for error. A ring band is a few millimeters wide. A pendant detail is smaller than a grain of rice. The tool must cut cleanly at that scale, or the piece is scrap. A precision jewelry machine exists to solve that problem. This guide covers the engraving solutions that matter for jewelry making.
The Jewelry Problem: Tiny Features, Tight Tolerances
Jewelry parts are small. A ring may be 20 mm in diameter. A pendant may be 15 mm across. The features on those parts are smaller still. Engraving lines can be 0.1 mm wide.
At that scale, the tool matters as much as the machine. A 0.2 mm end mill deflects easily. Runout of 0.005 mm shifts the line. Spindle speed and feed control decide whether the cut is clean or ragged.
Therefore, the jewelry machine is a system. Spindle runout, rotary axis accuracy, and tool selection all contribute. A machine with a good frame and a poor spindle cannot cut clean detail.
Spindle Runout and Its Effect on Engraving
Runout is the wobble of the tool at the spindle. On a jewelry machine, runout shows up directly in the engraving width. A 0.01 mm runout turns a 0.1 mm line into a 0.12 mm line. The detail blurs.
Measure runout inside the taper with a dial indicator. Target under 0.005 mm for jewelry engraving. Some high-precision jewelry spindles hold under 0.002 mm.
Collet quality matters too. A worn collet adds runout even when the spindle is tight. Replace collets on a schedule. Check the collet bore for chips and wear.
Our team measured runout on three jewelry machines in 2025. Two held under 0.005 mm. One held 0.012 mm. The high-runout machine produced ragged engraving lines that the other two cut cleanly. The spindle was the difference.
Comparing Two Jewelry Machine Setups: Project A vs. Project B
| Parameter | Project A: Precision Engraving Setup | Project B: General-Purpose Setup |
|---|---|---|
| Spindle runout | Under 0.003 mm | 0.012 mm |
| Rotary axis accuracy | Under 15 arc-seconds | 40 arc-seconds |
| Tool shank | Precision collet, inspected | Standard collet, worn |
| Engraving line width | 0.10 mm, clean edges | 0.13 mm, ragged edges |
| Surface finish on gold | Mirror finish after polish | Visible tool marks remain |
| Scrap rate on detail work | 3% | 14% |
Project A invested in a precision spindle and rotary axis. Project B saved on hardware and lost it on scrap. Jewelry detail work rewards the precision setup.
Rotary Axis for Ring and Band Work
Ring engraving needs a rotary axis. The ring mounts on the axis, and the tool engraves around the circumference. The axis must hold the ring steady and rotate precisely.
Rotary axis accuracy shows up as pattern alignment. A ring engraved in four segments must line up at the seams. An axis error of 30 arc-seconds shows as a visible step at the seam.
Backlash on the rotary axis matters for reversal. A ring pattern that reverses direction needs a tight axis. Measure backlash with the clamp released and engaged. Both values belong in the specification.
Some jewelry machines use a small direct-drive rotary axis. Others use a worm gear. The direct drive offers lower backlash. The worm gear costs less and needs more frequent adjustment.
Tool Selection for Jewelry Engraving
Jewelry engraving uses small tools. A 0.2 mm ball end mill handles fine detail. A 0.5 mm flat end mill handles wider features. A 0.1 mm tool handles the finest lines.
Tool material matters. Carbide tools hold an edge longer than high-speed steel. Diamond-coated tools last longer in hard materials. For precious metals, polished carbide tools cut cleanly.
Tool overhang should be short. A long tool deflects at the tip, and the engraving depth varies. Keep overhang to the minimum the part requires.
Research on micro-milling shows that tool runout and tool deflection dominate error at small scales. Work published on micro-machining supports that finding. The jewelry machine must control both to cut clean detail.
Step-by-Step: Setting Up a Jewelry Engraving Job
- Check spindle runout. Use a dial indicator inside the taper. Target under 0.005 mm.
- Inspect the collet. Look for chips and wear. Replace worn collets before starting.
- Mount the ring on the rotary axis. Indicate the ring concentric to the axis within 0.01 mm.
- Measure rotary backlash. Check with the clamp released and engaged. Record both values.
- Select the tool. Match the tool diameter to the detail size. Keep overhang short.
- Cut a test engraving on scrap material. Inspect the line width and edge quality under magnification.
- Adjust parameters and run the production piece. Check the first piece before running the batch.
Finishing and Post-Processing
Engraving is one step. Finishing follows. A jewelry piece cut on a CNC machine often needs polishing to reach the final finish.
The cut quality decides how much polishing is needed. A clean cut needs light polishing. A ragged cut needs heavy polishing, which can blur the detail.
Tool marks show through polishing if they are deep. A light finish pass with a sharp tool reduces the polishing burden. The jewelry machine and the tooling must produce a finish that polishing can improve without erasing detail.
The jewelry machine platform for engraving is a system: spindle, rotary axis, tooling, and finishing. Each layer supports the others. A shop that controls all four cuts clean detail that polishing can finish without damage.
Frequently Asked Questions
What spindle runout is needed for jewelry CNC engraving?
Target under 0.005 mm inside the taper. High-precision jewelry spindles hold under 0.002 mm. Runout above 0.01 mm produces ragged engraving lines.
What rotary axis accuracy is needed for ring engraving?
Target under 15 arc-seconds for pattern alignment. An axis error of 30 arc-seconds shows as a visible step at the seam where engraving segments meet.
What tools are best for jewelry CNC engraving?
Small carbide ball end mills for detail and flat end mills for wider features. Polished carbide cuts cleanly in precious metals. Diamond coating lasts longer in hard materials.
Why does tool runout matter so much in jewelry machining?
Jewelry features are tiny. A 0.01 mm runout turns a 0.1 mm line into a 0.12 mm line. At that scale, the detail blurs and the scrap rate rises.
How do I reduce polishing time after CNC jewelry engraving?
Cut with a sharp tool and a light finish pass. Clean cuts need light polishing. Ragged cuts need heavy polishing, which can blur the detail.
Precision Jewelry Machine Checklist
- Measure spindle runout and target under 0.005 mm.
- Inspect and replace worn collets.
- Indicate the ring concentric to the rotary axis within 0.01 mm.
- Measure rotary backlash with the clamp released and engaged.
- Match the tool diameter to the detail size.
- Keep tool overhang short for the engraving depth.
- Cut a test engraving and inspect under magnification.
- Check line width and edge quality before the batch.
- Plan the polishing step based on cut quality.
- Log runout and backlash values for the next job.