3 Axis CNC Machine for Precision Metal Parts: The Workhorse of Modern Manufacturing
Precision is non-negotiable in metal part manufacturing. Yet, cost-efficiency matters just as much. Many shops face a dilemma. They need to produce accurate components without overspending on overly complex machinery. So, what’s the most reliable and economical solution? The answer often lies in a foundational technology that has powered industry for decades.
Understanding the 3-Axis CNC Machine: Capabilities and Limits
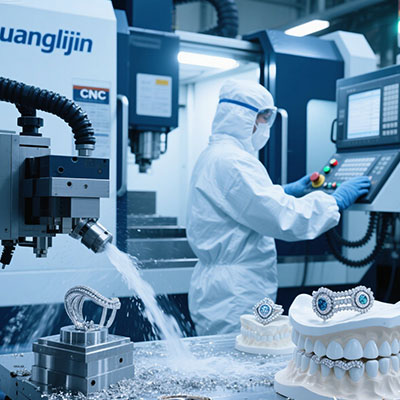
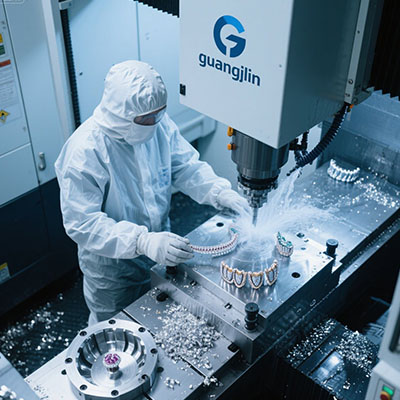
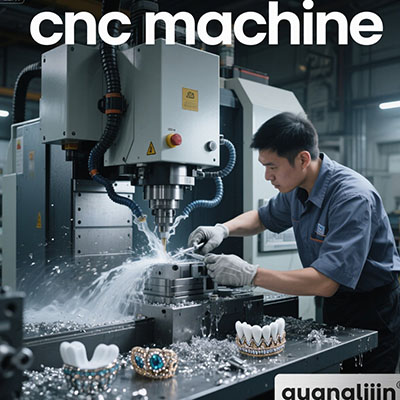
Let’s start with the basics. A 3 axis cnc machine moves a cutting tool in three linear directions. These are X (left-right), Y (front-back), and Z (up-down). It’s like a highly sophisticated, automated carving tool. This setup is perfect for machining features on the top and sides of a block. Think of brackets, plates, housings, and molds.
For instance, an aluminum electronic enclosure with precise mounting holes and a milled pocket is a classic job for a 3 axis cnc machine. A study by Modern Machine Shop in 2024 showed that over 65% of all machined components can be completed efficiently on 3-axis mills [Source: Modern Machine Shop, 2024]. That’s a huge portion of everyday work.
Where Does the 3-Axis CNC Truly Excel?
The strengths are clear and numerous. First, it offers simplicity and reliability. Fewer moving parts mean less maintenance and easier operation. Second, the cost of entry and operation is significantly lower than multi-axis alternatives. Third, for 2.5D parts—those with prismatic features—it’s often the fastest option.
However, it’s crucial to know its boundaries. A 3-axis mill cannot machine undercuts or complex organic curves in one setup. The part would need to be manually repositioned. That’s where 5-axis machines take over. But for countless applications, 3-axis is the perfect, cost-effective workhorse for precision metal machining.
A Practical Guide: From CAD to Finished Part in 5 Steps
Producing a part on a 3-axis CNC is a straightforward but precise process. Follow these key steps.
Step 1: Design and CAD Model Preparation
Everything begins with a 3D CAD model. The design should consider the machine’s limitations. Avoid deep, narrow pockets and features on the bottom of the part. Use standard tool sizes where possible to streamline the process.
Step 2: CAM Programming and Toolpath Generation
This is where the model becomes instructions. Using CAM software, a programmer selects tools and defines paths for roughing and finishing. They must optimize for efficiency and tool life, a core part of the CNC milling process.
Step 3: Workholding and Machine Setup
The metal stock is securely clamped to the machine bed using a vise, fixture plate, or clamps. Proper setup is 90% of success. The workpiece must not move even a micron during cutting.
Step 4: Machining Execution and Monitoring
The machine operator loads the program, sets the tool and workpiece zeros, and starts the cycle. They monitor the process for unusual sounds or vibrations, ensuring precision manufacturing throughout.
Step 5: Post-Processing and Quality Control
After machining, the part is removed, deburred, and cleaned. Then, critical dimensions are verified using calipers, micrometers, or a CMM. This final check guarantees the part meets all specifications.
⚠ Attention: Critical Mistakes to Avoid with 3-Axis CNC
The most common error is poor workholding. A part that shifts during machining is always scrap. Another major pitfall is neglecting tool deflection. Using a long, thin end mill at aggressive depths will break tools and ruin accuracy. Also, don’t assume all features are accessible. Always analyze which sides of the part need machining. You might need a second setup, which must be planned for from the start.
Making the Right Choice: 3-Axis vs. Multi-Axis for Your Project
Choosing the right machine type is crucial for budget and timeline. Let’s compare two common scenarios.
| Project Criteria | Project A: Flat Aluminum Panel with Holes & Pockets | Project B Titanium Aerospace Bracket with Angled Features |
|---|---|---|
| Part Geometry | Essentially 2.5D. All features are on the top plane or perpendicular sides. | Complex 3D. Includes compound angles and features on multiple non-orthogonal faces. |
| Ideal Machining Process | 3-Axis CNC Milling. Possibly with one or two manual re-fixturings for side features. | 5-Axis Simultaneous Machining. Required to access all angles without re-clamping. |
| Primary Advantage | Lowest cost per part, faster programming, and wide machine availability. | Single-setup completion, superior accuracy for complex geometries, no fixture error. |
| Cost & Time Implication | Highly cost-effective. Additional setups add some labor but are manageable. | Higher machine and programming cost, but eliminates multiple fixtures and handling errors. |
Interestingly, for many parts like Project A, a skilled machinist can use a 3-axis machine with a tilting vise to achieve simple angles, avoiding the need for a 5-axis. The National Institute of Standards and Technology (NIST) notes that for prismatic parts, 3-axis machines can achieve positional tolerances within 0.01 mm with proper calibration [Source: NIST Engineering Handbook].
A Real-World Insight: Our 2025 Learning Experience
Our team recently optimized production for a client’s sensor mount. The initial design had a shallow, curved pocket. We assumed a 3-axis machine with a ball-nose end mill could handle it. It did, but the finish was poor and cycle time was long. We redesigned the pocket to be flat-bottomed with radiused corners. This simple change allowed us to use a faster flat-end mill. The result? Cycle time dropped by 40%, and the surface finish improved dramatically. This taught us a valuable lesson: designing specifically for the capabilities of a 3 axis cnc often yields better results than pushing its limits.
Pre-Production Checklist for Your 3-Axis CNC Project
Before sending any job to the shop floor, verify this complete list:
- Design Review: CAD model is finalized for manufacturability (DFM) on a 3-axis machine.
- Technical Drawings: 2D drawings with all dimensions, tolerances (GD&T), and surface finish requirements are complete.
- Material Ready: Correct metal stock (alloy, temper, size) is available and certified.
- Tooling Plan: All required end mills, drills, and tool holders are confirmed to be in inventory.
- Fixture Strategy: Method for holding the part securely for all required setups is designed and tested.
- CAM Verification: Toolpaths have been simulated for errors, collisions, and efficient material removal.
- Quality Gates: Inspection points and methods (micrometer, CMM, surface tester) are defined for critical features.
- Post-Processing: Requirements for deburring, cleaning, anodizing, or plating are clearly specified.
Frequently Asked Questions on 3-Axis CNC Machines
What are the main advantages of a 3-axis CNC machine over manual milling?
The advantages are huge: far superior consistency and repeatability, ability to produce complex geometries impossible manually, much faster production times for multiple parts, and reduced reliance on highly skilled manual labor for every operation.
What types of metal parts are best suited for 3-axis CNC machining?
Ideal parts include brackets, plates, enclosures, molds, gears, and components with features primarily on one plane (2.5D geometry). Any part where all critical features can be accessed from the top and vertical sides is a perfect candidate.
What is the typical accuracy and tolerance of a 3-axis CNC mill?
A well-maintained industrial 3-axis CNC machine can consistently hold tolerances of ±0.025 mm (±0.001″) or better for positional accuracy. Geometric tolerances like flatness and parallelism are also highly achievable.
Can a 3-axis CNC machine create threaded holes?
Yes, absolutely. They can drill pilot holes and then use tapping operations to create precise internal threads. Alternatively, thread milling—a more flexible but slower process—can be used for larger or non-standard threads.
What is the cost difference between 3-axis and 5-axis CNC machining services?
3-axis machining is significantly more cost-effective. Hourly machine rates are lower, programming is simpler and faster, and setup times are often shorter. For parts within its capability, it is the most economical choice by a wide margin.