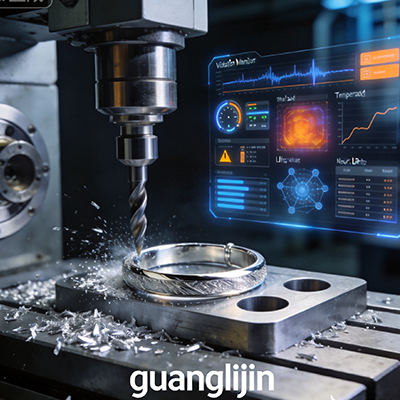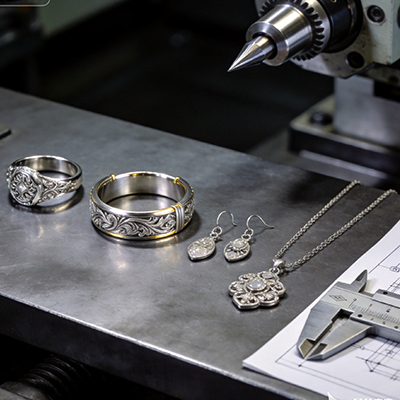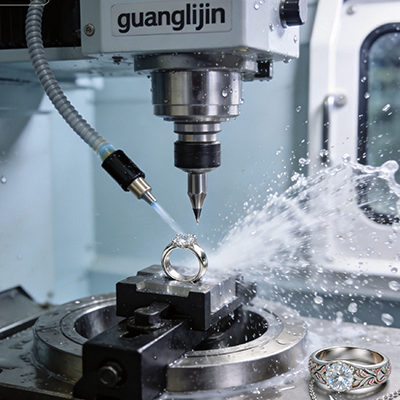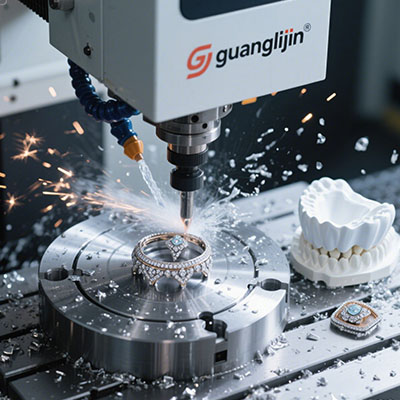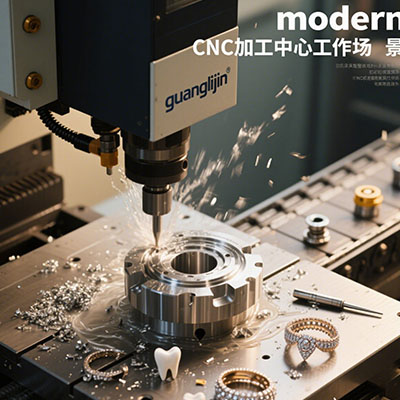
A jewelry CNC machine should match the part you need to deliver: a wax pattern, a cut metal piece, or a fine detail. For a shop that plans to buy its first mill, wax work is often worth testing first. Yet the right choice depends on tool access, staff skills, and the steps that follow the cut. This guide shows how to judge a quote with a real ring design.
Quick answer: Choose the process before you choose the machine. Check the material, smallest feature, holding method, and final size. Then ask for a sample cut from your file. A neat demo part helps, but your own design gives a much clearer view of fit.
Jewelry CNC Machine Selection Starts with the Part
A wax mill removes stock from a blank to form a pattern for casting. A metal mill cuts the final alloy itself. These routes need different tools, chip control, and levels of support. A machine approved for wax should not be treated as a gold or silver mill without clear maker approval.
Start with a drawing of a part you sell often. Mark the ring size, thin walls, stone seats, and faces that must stay sharp. State which areas will be filed or polished later. This gives the supplier a useful brief and helps you compare bids on the same basis.
Check the whole route from CAD to finish
CAD sets the shape. CAM turns it into tool paths. The control runs those paths on the mill. Each stage can change the result. A smooth screen image does not prove that a cutter can reach a deep slot. Nor does a clean wax pattern prove that the cast ring will meet its final size.
For wax ring milling, include the casting partner early. Ask how they want sprues placed and which waxes they accept. Keep shrinkage and finishing stock tied to their tested process. A single scale factor copied from another shop can miss the way your alloy, mold, and design behave.
Read Machine Data without Confusing It with Part Quality
Published data can help you ask better questions. Roland DGA lists a 5,000–20,000 rpm spindle range for its DE-3 rotary engraver. That is a model-specific range, not a cutting recipe for every alloy. Tool size, cut depth, and material still determine a safe starting point. [Source 1: Roland DGA, DE-3 Desktop Rotary Engraver, specifications.]
The same sheet lists mechanical resolution of 0.00125 mm per step. That figure describes an axis increment; it does not promise that a finished ring will hold that tolerance. Tool runout, part flex, wear, and setup error all matter. Ask for measured sample parts instead of relying on resolution alone. [Source 2: Roland DGA, DE-3 specifications, Mechanical Resolution.]
Also check what the product was designed to cut. Roland DG describes its JWX-30 as a machine for jewelry models in modeling wax. That clear scope is useful when reading older equipment listings. A familiar brand or a small footprint does not remove material limits. [Source 3: Roland DG, JWX-30 User’s Manual, Machine Highlights.]
Project A vs Project B: Wax Pattern or Direct Metal
Both routes can serve a jewelry shop, but they solve different jobs. Wax gives a pattern that still needs casting and finishing. Direct metal cutting can remove that casting stage for suitable parts. It can also demand more from workholding, tools, and chip recovery. Compare the full route, not just spindle time.
| Decision | Project A: CNC wax pattern | Project B: Direct metal ring |
|---|---|---|
| Main output | Pattern for a later casting step | Machined alloy part for finishing |
| Material demand | Approved modeling wax | Specific alloy approved for the mill |
| Key risk | Thin wax walls break during release | Part movement or tool wear spoils detail |
| Downstream work | Spruing, casting, cleanup, polishing | Deburring, finishing, possible assembly |
| Sample to inspect | Wax and its finished casting | Cut part after final polish |
| Cost basis | Total cost per accepted casting | Total cost per accepted finished part |
A Step-by-Step Sample Trial
Step one: Define acceptance before the quote
Write down the features that decide whether you can sell the piece. These may include ring fit, seat position, wall thickness, and visible finish. Agree on the measuring method as well. A supplier and buyer can measure the same part differently unless the drawing gives a clear reference.
Step two: Review cutter access
Ask the supplier to show the planned approach to deep or hidden faces. Include the tool holder in the review. A fine cutter may reach the surface while its holder hits the ring. If access fails, consider a new holding angle, a split design, or a different route.
Step three: Prove the fixture
Hold the blank firmly without bending it. Keep clamps away from the cut and leave room for release. For a rotary setup, confirm the centerline and how the blank seats. Test removal too. A pattern that cuts well but snaps when released is still a failed process.
Step four: Run a controlled first cut
Use the maker’s approved tools and material guidance. Check the tool path and clearances before cutting. Start under trained supervision with guards in place. Record the tool, blank, setup, and program revision. Change one factor at a time so the cause of any result remains clear.
Step five: Inspect before and after finishing
Measure the key features while the cut marks are still visible. Then pass the sample through its normal finish route. For a pattern, inspect the cast piece too. Compare where size or detail changed. This separates milling faults from casting or polishing faults and points to the right fix.
Step six: Repeat with a fresh setup
Remove the work, reset the fixture, and run another blank. This tests setup repeatability rather than one lucky cut. Have the intended operator follow the written method. Record loading time, tool changes, cleanup, and rejects. Those details shape daily output far more than a short demo video.
A Ring Case to Use in a Buying Discussion
Consider a proposed signet ring with a recessed face and thin shoulders. This is an illustrative trial, not a reported customer result. The first review finds that the face is easy to cut, but the shoulder detail needs another approach. The buyer can then price the extra setup before ordering.
During research for this guide, I checked the JWX-30 manual and the DE-3 specification sheet side by side. What stood out was the difference between intended material and motion data. That reading check shaped this advice: ask what the machine can cut in your process before asking how small a step it can command.
For the signet trial, keep the same CAD revision through milling and casting. Photograph the wax before spruing. After finishing, compare the shoulder shape and recessed face with the drawing. If edges lose shape only during polishing, changing the mill may not solve the actual problem.
Build a Quote around Accepted Parts
A useful precision jewelry machining quote lists the machine, software, fixtures, tools, training, and service scope. Ask which items are optional and which are needed for your sample. Include extraction and material recovery where relevant. A low base price can leave major parts of the work route unpriced.
To discuss a jewelry CNC machine, prepare your drawing, material, target batch size, and sample criteria. Request a written process proposal and proof cut. Treat any promised cycle time as a testable claim. Confirm whether it includes loading, extra setups, and finish work before using it in a budget.
⚠ Attention: More axes do not guarantee a better ring. Do not equate step resolution with finished accuracy, or assume a wax mill can cut metal. Avoid using a generic feed chart as approval for an untested alloy. Follow the machine and tool makers’ material limits.
Questions Buyers Ask
Can a desktop CNC mill make wax rings?
Yes, a suitable wax-capable mill can make ring patterns within its work envelope and tool access limits. Check how it holds ring blanks and reaches side faces. Ask for your design to be cut, released, and cast. That trial gives more useful evidence than a stock demonstration model.
Is rotary milling needed for every jewelry design?
No. Flat pendants and open faces may suit a simpler setup. Rotary motion can help reach around a ring, but adds setup and CAM demands. Choose it when the part needs that access. Ask the supplier to show the gain on your drawing rather than on a different part.
How should a shop compare CNC equipment costs?
Compare complete installed cost and cost per accepted part. Include software, fixtures, training, tools, maintenance, and downstream work. Use measured sample times where possible. Keep estimates separate from proven results, and compare quotes with the same alloy, design, finish, and batch assumptions.
Checklist Before You Order
- Material and final part drawing are clear.
- Thin walls and hidden faces have been reviewed.
- The fixture holds and releases the sample safely.
- CAM and control compatibility are confirmed.
- The finished sample meets written criteria.
- A fresh setup gives a repeatable result.
- The quote includes tooling, training, and support.