A jewelry engraver should make the marks your customers want without spoiling the piece beneath them. For a shop buying CNC equipment, the main question is simple: do you need a bright scribed line, a cut groove, or a laser mark? Each finish calls for a different process. This guide helps you turn that choice into a clear sample test and buying brief.
Quick answer: Start with the metal, shape, and required mark. Then check tool access, part support, and depth control. Ask the supplier to engrave your artwork on a matching blank. Judge the result after normal cleaning and finishing. A sharp screen preview alone cannot prove that the text will stay clear.
Choose a Jewelry Engraver by the Mark
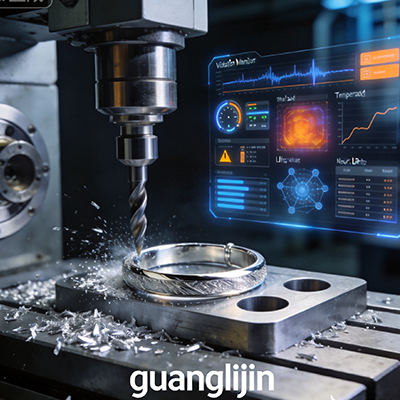
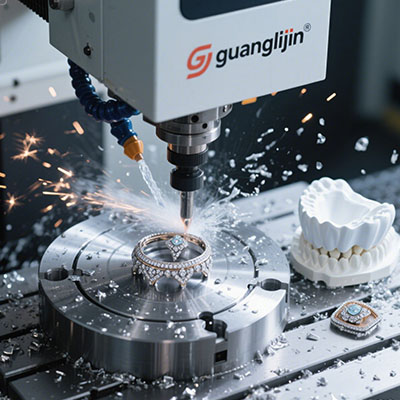
Diamond drag engraving uses a point to scribe the surface. Rotary engraving uses a spinning cutter to remove metal. Laser systems apply light energy to mark or remove material under suitable settings. These methods can all serve jewelry work, but they do not leave the same edge, depth, or surface texture.
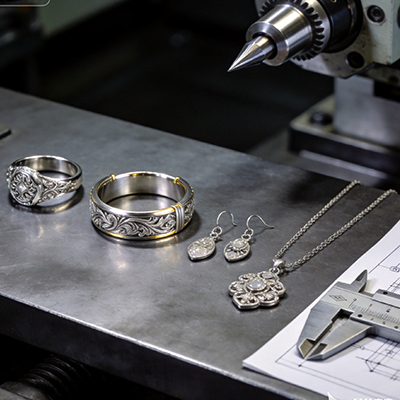
A small name on a polished pendant may need a fine bright line. A logo meant for later color fill may need a cut recess. An inside ring inscription adds another demand: access to a curved face. Put the exact mark and location in the brief before comparing machine names.
Match the process to the actual surface
State whether the piece is solid metal, plated, coated, or already set with stones. A cut can expose the base metal under a thin finish. Clamping can also mark a soft surface. A process that works on a flat bare blank may fail on a curved finished item from the same product range.
For custom jewelry engraving, send vector artwork where possible. Check spelling, spacing, and the smallest enclosed shapes in letters. Fine strokes can merge when the tool is too wide. Simplify the artwork before cutting if the design exceeds the proven detail level of the tool and setup.
Use Published Numbers as Questions, Not Promises
Roland DGA lists a 305 × 230 mm work table for its DE-3 engraver. This is useful context for fixture planning, but table size is not the same as free access to every part face. A vise or ring holder uses space and changes where the tool can travel. [Source 1: Roland DGA, DE-3 Desktop Rotary Engraver, Work Table Size.]
The DE-3 sheet also lists a maximum material thickness of 40 mm, or 38 mm with the nose cone. These are model-specific limits. They show why an accessory can change usable capacity. Ask each supplier to confirm the available clearance with the exact fixture and tool you plan to use. [Source 2: Roland DGA, DE-3 specifications, Maximum Material Thickness.]
Roland DG’s EGX-360 cutting guidance says settings vary with material and cutter choice, and calls for test cuts. That principle matters more than copying one speed from a chart. A fresh tool, a different alloy, or a change in holding can alter the result. [Source 3: Roland DG, EGX-360 User’s Manual, Examples of Settings for Cutting.]
Project A vs Project B: Scribed Text or Cut Recess
Choose the finish with a physical sample under normal light. A scribed line may look bright as the piece turns. A milled recess gives a different shadow and edge. Neither finish is always better. The right choice depends on the artwork, metal, later finish steps, and the look the buyer expects.
| Decision | Project A: Diamond drag text | Project B: Rotary cut recess |
|---|---|---|
| Tool action | Point scribes the surface | Spinning cutter removes stock |
| Typical goal | Fine line names and simple motifs | Defined grooves and recessed artwork |
| Main control | Point condition and contact force | Tool shape, depth, feed, and speed |
| Fixture concern | Support against drag force | Support against cutting force |
| Finish check | Line remains visible after cleaning | Edges stay clear after deburring |
| Test piece | Matching finish and metal | Matching alloy and thickness |
A Step-by-Step Engraving Trial
Step one: Approve the artwork
Confirm every letter with the customer before the job reaches the machine. Set the overall width and location on a drawing. Convert fonts only through a workflow that preserves their shape. Keep a copy of the approved file. A perfect cut of the wrong date is still a rejected order.
Step two: Prepare a matching blank
Use a test blank with the same metal and surface finish as the paid job. Where a coating matters, match that too. Clean it using a method suited to the piece. Dirt beneath the work can tilt it; residue on the face can hide flaws during the first check.
Step three: Support the work
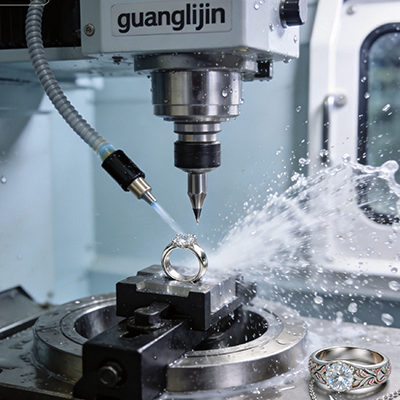
Use a fixture that keeps the piece from rocking or sliding. Protect faces with a method that will not trap chips against the polish. Check the tool path against the clamps. For a ring, confirm the holding axis and inscription position. Do not rely on hand pressure to steady the cut.
Step four: Set the origin and clearance
Locate the start point with the machine’s approved setup method. Verify that the whole design sits inside the allowed area. Review the raised travel moves as well as the cutting moves. A safe start point will not prevent a later collision if the tool crosses a tall clamp.
Step five: Cut and inspect the sample
Start with the maker’s guidance for the material and tool. Keep the enclosure and extraction arrangements in use. Inspect stroke width, edge burrs, spacing, and depth consistency. Change one setting at a time. That makes it easier to find out whether a fault comes from the artwork, tool, or setup.
Step six: Finish and record the result
Clean or lightly finish the sample as the real order will be finished. Check the lettering again under ordinary viewing light. Save the accepted file, tool details, and setup notes together. Include a photo of the mark. Future operators need a visual target as well as a list of settings.
A Pendant Trial That Reveals the Real Constraint
Consider an illustrative order for a polished pendant with a short script name. The first sample has clear outer strokes but closed loops inside the letters. One possible fix is wider spacing or a simpler font. Another is a smaller suitable tool. The choice should follow another test, not a guess.
While preparing this guide, I compared the DE-3 thickness limits with its listed table size. The accessory note was easy to miss, yet it changed the usable clearance. That document review reinforced a practical point: a quote should name the fixture and setup, rather than give only the machine’s headline dimensions.
In the proposed pendant trial, compare the mark before and after cleaning. If loops stay open but light strokes vanish after polishing, review the finish route and engraving method. The answer may be a different stroke width or process order. Simply cutting deeper can harm a thin or plated piece.
What a Complete CNC Engraving Quote Includes
Ask for a quote that includes the machine, approved tools, holders, software, and operator training. For ring engraving, include the exact inside or outside ring fixture. Confirm its size range in writing. Also ask how worn points or cutters are replaced, and how the supplier supports setup problems.
When discussing a jewelry engraver, send sample artwork and clear photos of the blank. State the metal, finish, shape, and expected order mix. Request a proof cut on a matching part. This helps separate a useful configuration from extras that do not solve your main work.
Price the cost per accepted job. Include artwork preparation, loading, setup, cutting, cleanup, and rework. A short cut time can be outweighed by slow alignment for each ring. For varied one-off orders, easy setup may matter more than a higher top feed rate. Measure the work your team will actually do.
⚠ Attention: A laser pointer on a rotary engraver is a setup aid; it does not make the machine a laser marking system. Do not assume that a flat table machine can engrave inside rings. Check access, fixture support, and material limits before cutting customer property.
Common Buyer Questions
Which engraving method suits gold and silver names?
The answer depends on the desired finish and the piece. Diamond drag can suit fine line text; rotary cutting can form grooves. A suitable laser offers other effects. Test on the same alloy and finish. Compare the cleaned samples with the approved artwork before choosing the process for paid work.
Can one machine engrave both pendants and ring interiors?
Some configurations can, but this requires the right tool access and holding system. A flat pendant fixture is not proof of inside ring capability. Ask for a demonstration at the smallest and largest ring sizes you expect. Include a check that the tool clears both edges of the band.
Why does engraved text look uneven?
Possible causes include a tilted part, curved surface, worn point, loose fixture, or unsuitable settings. Check support and alignment first. Then inspect the tool and artwork. Make a controlled test on a spare blank. Do not keep increasing force or depth without finding the source of the uneven line.
Checklist for a Better Buying Decision
- The required mark and finish are approved.
- Metal, coating, and shape are documented.
- The chosen fixture supports the complete tool path.
- Text remains readable after normal finishing.
- Sample results are repeatable after reloading.
- Software, tools, training, and support are priced.
- Accepted artwork and setup notes are saved together.