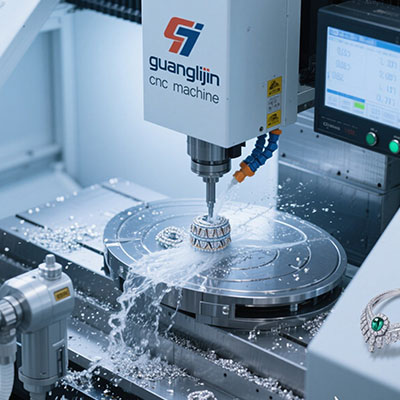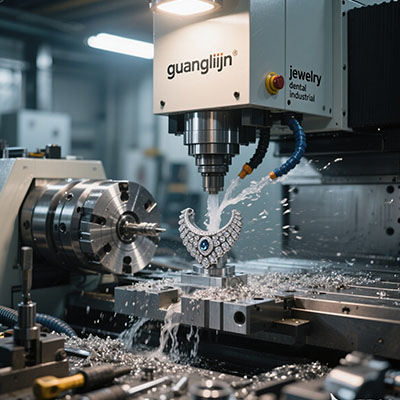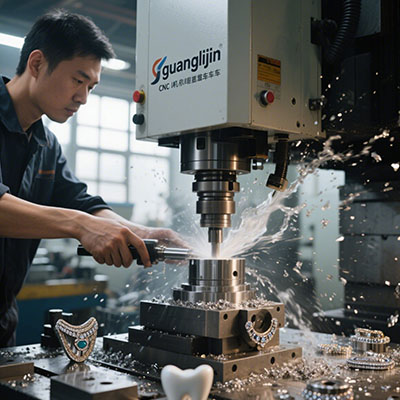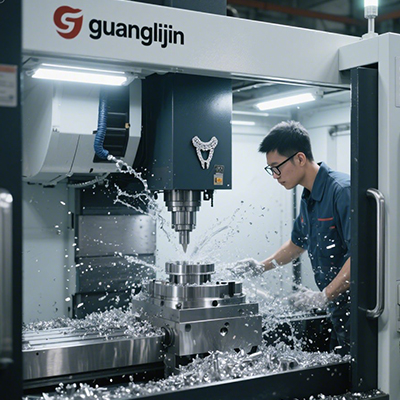
2.5 axis CNC describes a common style of machining where a tool cuts features at selected depths. It is useful for pockets, profiles, and hole patterns with suitable geometry. The name does not mean the machine has half a physical axis. For buying or quoting, show the actual surfaces and depth changes rather than relying on the label alone.
Match the Method to the Feature
A flat pocket with a constant floor can often be planned as a series of levels. The cutter follows a path at one depth, then moves to another. A smoothly changing sculpted surface may need a different strategy. Look at the finished shape, not just whether the CAD model appears three-dimensional on screen.
For jewelry fixtures, this route can suit locating pockets, flat relief areas, and bolt patterns. Tool access still matters. A narrow inside corner cannot be made sharper than the chosen tool allows without another method. Define corner radii and finish stock early so the CAM plan matches the drawing.
Use Machine Data Carefully
The Haas HRT160 specification lists a 160 mm platter diameter. [Source 1: Haas Automation, HRT160 specifications.] A rotary is not required simply because a part has several depths. This figure is a scale reference for an optional attachment; the need for rotation should come from side access in the actual job.
The same HRT160 sheet lists six standard T-slots spaced at 60 degrees. [Source 2: Haas Automation, HRT160, Platter specifications.] Fixture interfaces are specific hardware details. Even when the cutting method is simple, confirm the mounting method and available space rather than assuming an accessory will accept your existing fixture.
Project A vs Project B: Level Pocket or Sculpted Face
Compare the geometry before selecting software or equipment. A constant-depth pocket has a clear floor and boundary. A sculpted face changes height across its area and may need closer control of surface finish. Both can use the same physical mill in suitable cases, but their tool paths and inspection needs differ.
| Decision | Project A: Level pocket | Project B: Sculpted face |
|---|---|---|
| Depth pattern | Selected cutting levels | Changes across the surface |
| Key check | Floor depth and wall size | Surface form and tool marks |
| Quote detail | Pocket boundaries and corner radii | Surface model and finish target |
Plan the Job in Five Steps
- Identify level features. Separate pockets, profiles, and holes from surfaces that vary continuously in height.
- Check tool fit. Match cutter size to corners, slot width, and required reach.
- Define depth references. State the stock top, finished floor, and any material left for finishing.
- Review linking moves. Confirm safe travel above clamps and between separate pockets.
- Cut and measure. Prove floor depth, wall size, and finish on a representative sample.
A Fixture Pocket Case
Imagine an illustrative nest for a flat pendant. The nest needs a shallow floor and a side relief for loading. A level-based strategy may handle both. If the pendant has a curved back, a flat floor might leave it rocking. The fixture design, not the software label, decides whether the simple route is suitable.
While preparing this guide, I checked a rotary table’s mounting dimensions alongside the intended cutting task. The comparison reinforced a useful distinction: adding hardware does not change the geometry requirement. First decide whether the part needs a new approach angle. Then evaluate any attachment that enables that angle.
⚠ Attention: Do not confuse a level-based cutting strategy with a limit on the number of physical machine axes. Do not remove clearance moves just to shorten a program. A simple pocket can still cause a collision if the stock, clamp height, tool length, or work reference is modeled incorrectly.
Common Planning Questions
Can this method make a three-dimensional part?
Yes, many parts with thickness, pockets, and stepped features can be made using selected depth levels. The term describes the tool-path style rather than whether the finished object occupies space. Review any curved or undercut surface separately. It may need another strategy, setup, or process to meet the design.
Is simpler CAM enough for every pocket?
Not necessarily. Check the required tool motion, material, approach, and control output. Deep narrow pockets can still be demanding. Ask the software supplier to program your sample and show the resulting moves. Confirm the post processor and verify the machine code through the approved process before cutting valuable stock.
What information improves a machining quote?
For 2.5 axis CNC, send pocket depths, wall dimensions, corner radii, and finish requirements. Include the alloy and blank size. State whether the supplier delivers a raw cut part or a finished component. Clear geometry lets the supplier quote the actual process instead of making broad assumptions from the search term.
Checklist
- Level and sculpted features are separated.
- Cutter access and corner radii are checked.
- Depth references are clear.
- Fixtures remain in the clearance model.
- Sample dimensions pass inspection.
- Software and post output match the machine.