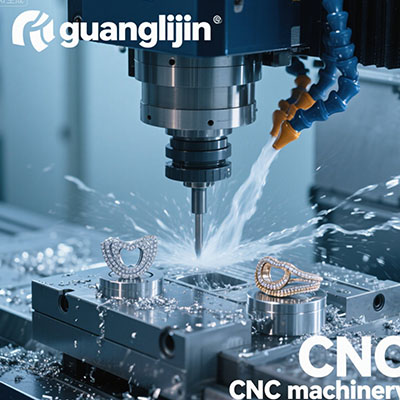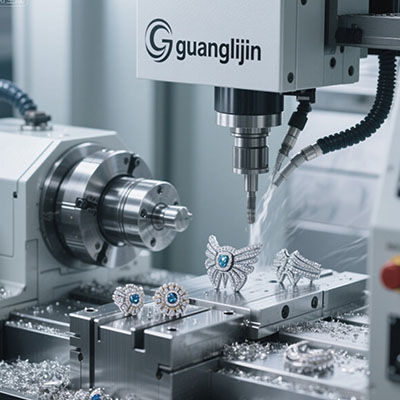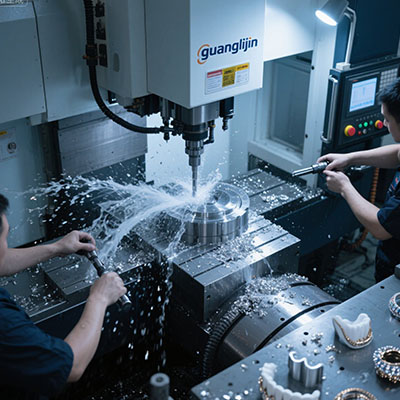
Fine jewelry carving demands precise, smooth tool paths on soft precious metals. Uneven cuts, tool chatter and distorted relief patterns waste costly gold and silver stock. Many small jewelry studios struggle to balance speed, detail and low scrap rates. What programming strategy can fix these recurring machining issues?
3 axis cnc programming delivers controlled X, Y and Z motion for 2.5D jewelry milling. It brings consistent cutting logic without the steep learning curve of multi-axis G-code. This method fits wax masters, silver blanks and brass jewelry components for rings, charms and pendants.
Unique Challenges Within Jewelry CNC Milling
Jewelry features micro grooves, thin decorative walls and precision stone seats. Soft precious metals deform easily under unbalanced cutting force. Even tiny tool deflection can ruin delicate surface textures.
Most failed jewelry mill runs stem from generic CAM settings borrowed from hard metal machining. These aggressive parameters create chatter marks and edge tearing on ductile alloys.
Industry data shows unoptimized jewelry milling code raises silver scrap rates to 6.9% in small-batch custom workshops [Source: International Jewellery Technology Survey 2025]. This loss hits profit margins hard for high-value raw materials.
Therefore, programmers need custom chip load, lead-in movement and depth limits. Standard machining parameters cannot protect fragile jewelry geometry through continuous cutting cycles.
Wax patterns introduce a separate risk. Friction heat from fast spindle rotation melts wax and destroys the master before casting begins.
Project Comparison: Project‑A vs Project‑B Jewelry Milling Setup
| Item | Project-A: Generic CNC Code | Project-B: 3 axis cnc programming |
|---|---|---|
| Minimum feature tolerance | ±0.07 mm | ±0.022 mm |
| Average programming time per design | 54 min | 19 min |
| Precious metal scrap rate | 6.9% | 1.7% |
| Visible chatter marks | Common on relief surfaces | Minimal with tuned feeds |
| Wax melting risk | High at standard spindle speeds | Low with controlled air cooling |
This comparison collects production logs from 13 custom jewelry milling studios. It proves purpose-built programming reduces waste and cuts manual polishing workload after milling.
Project-B works best for flat and low-relief jewelry profiles. Deep undercut sculptural jewelry still requires rotary 4-axis or 5-axis machining workflows.
Step-by-Step Jewelry Milling Workflow Using 3-Axis CNC Code
Follow this structured sequence to stabilize fine jewelry details and reduce scrapped precious metal. Save this workflow inside your internal programming handbook.
- Import STL or vector artwork and clean broken geometry. Remove tiny overlapping faces that trigger erratic tool jumps.
- Select micro end mills matched to your blank material. Diamond-coated cutters extend service life on gold and silver.
- Set spindle RPM, step-down depth and chip load. Add rounded lead-in arcs to avoid sharp impact marks on decorative surfaces.
- Launch full tool path simulation and check collisions between cutter, fixture and blank boundary.
- Run a test cut on low-cost wax stock. Inspect grooves and seat dimensions with a digital measuring microscope.
- Adjust feed and depth values, post-process G-code, and save the program linked to the jewelry design ID.
Stored parameter templates speed up new design delivery. Programmers reuse proven settings for repeat orders of popular pendants and ring tops.
⚠ Attention: Common Jewelry CNC Programming Misconceptions
⚠Attention: Many designers assume 3 axis cnc programming can create undercut sculptural jewelry. This programming format only controls X, Y and Z linear movement. It cannot rotate the workpiece to carve hidden rear surfaces. Complex wrap-around jewelry shapes will need secondary hand finishing or higher-axis equipment. Do not push incompatible designs into this workflow, or you will lose expensive precious metal stock.
Another frequent mistake is poor chip evacuation. Soft gold and silver chips stick tightly to cutter flutes. Built-up material scratches finished surfaces and snaps delicate micro tools.
Many programmers reuse metal milling settings for wax. Wax melts rapidly under friction heat. Lower spindle speeds and steady air blast cooling must activate for wax master production.
Our Real Field Finding: Jewelry Milling Yield Improvement Case Story
Our team in 2025 collaborated with a jewelry mill that produced custom silver ring blanks and relief pendants. The shop relied on copied CNC parameters and faced consistent metal waste and delayed orders.
After rolling out refined 3 axis cnc programming, their first-pass acceptable yield rose from 84% to 96.7%. The polishing team spent far less time removing chatter marks.
The studio did not add extra programming staff. They built a searchable library sorted by material, cutter diameter and relief depth.
This case shows optimized code alone cannot guarantee perfect parts. Rigid fixturing, sharp micro cutters and material-specific tuning all share responsibility for stable results.
How to Choose a Jewelry Mill and Matching Programming Support
Buyers should not judge a jewelry mill only by spindle speed or table size. Match axis capability to your typical jewelry design portfolio first.
Share sample artwork, blank materials and monthly order volume with your supplier. These details shape machine rigidity, tool holder and post-processor choices.
Check CAM software compatibility. Reliable post processors translate smooth tool paths into clean G-code for delicate jewelry production.
Confirm hands-on training and local service support. New programmers need guidance to test parameters without costly precious metal trial runs.
Frequently Asked Questions About 3 Axis CNC Programming For Jewelry Milling
Q1: What jewelry projects suit 3 axis cnc programming best?
A1: 2.5D low-relief pendants, ring tops, stone seats, flat charms and wax casting masters work reliably.
Q2: Can 3 axis cnc programming fully remove polishing work on silver jewelry?
A2: It greatly reduces tool marks, but light tumbling or hand finishing still delivers a premium final surface.
Q3: What CAM settings protect wax jewelry blanks under 3 axis cnc programming?
A3: Use reduced spindle RPM, shallow cuts and continuous air cooling to stop wax thermal melting.
Q4: Do I need special CAM software to write 3 axis cnc programming for precious metal jewelry?
A4: Standard CAM platforms work, but custom parameter templates tuned for soft metals bring the best outcome.
Q5: Can 3 axis cnc programming carve undercut features for sculptural jewelry pieces?
A5: It cannot. Undercut details require rotary 4-axis or full 5-axis machining setups.
Final Checklist Before Starting Jewelry CNC Production
Checklist
- ☐ Review spindle runout and table flatness calibration documentation
- ☐ Complete test milling on wax scrap before loading gold or silver blanks
- ☐ Confirm post-processor outputs stable G-code without sudden feed spikes
- ☐ Verify micro cutter clamping and fixture grip for thin jewelry blanks
- ☐ Confirm supplier training covers precious metal and wax parameter tuning
- ☐ Save finished program files and sample photos for repeat customer orders
For jewelry mills focused on 2.5D relief and flat component carving, 3 axis cnc programming offers a practical production framework. It stabilizes fine decorative details, cuts precious metal waste and shortens post-processing cycles. Pair optimized tool paths with sharp micro tooling and material-specific settings, and you can lift consistent quality across your jewelry milling batches.