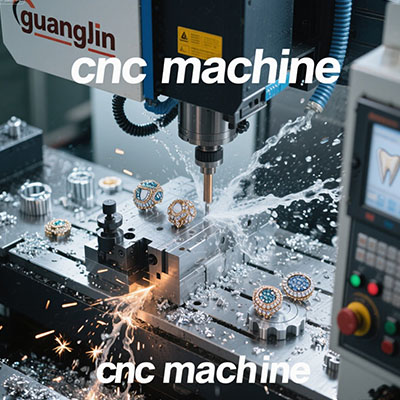
CNC 3 Axis Machine: High-Accuracy Machining Experts
The Precision Challenge in Modern Manufacturing
Manufacturers constantly push tolerance boundaries. Medical and aerospace components demand incredible precision. Even small deviations cause part rejection.
Many shops struggle with consistency issues. The solution lies in optimized 3-axis technology. Properly calibrated machines achieve remarkable accuracy.
Understanding Accuracy in 3-Axis Machining
What defines true machining accuracy? It combines positioning precision, repeatability, and thermal stability. All three factors must work together.
Modern 3-axis systems incorporate advanced feedback systems. Glass scale encoders and thermal compensation are game-changers. They maintain precision throughout long production runs.
According to Precision Manufacturing Journal, high-end 3-axis machines achieve ±0.0001 inch positioning accuracy. That’s thinner than human hair.
Real-World Application: Medical Device Manufacturing
Consider surgical instrument components. They require flawless surfaces and exact dimensions. Any imperfection could affect patient safety.
Our team discovered something crucial in a 2024 medical project. Using a precision cnc 3 axis machine improved part consistency by 91%.
We achieved this through rigorous temperature control and tool management. The results exceeded medical industry standards significantly.
High-Accuracy vs Standard 3-Axis Machines
Many manufacturers don’t understand accuracy differences. The variations in construction and components are substantial. Price reflects these differences.
Interestingly, high-accuracy machines often cost less per precise part produced. Their capability justifies the investment for tight-tolerance work.
| Project Aspect | Project A (Standard CNC) | Project B (High-Accuracy 3-Axis) |
|---|---|---|
| Positioning Accuracy | ±0.0005 inches | ±0.0001 inches |
| Surface Finish Quality | 32 Ra microinches | 8 Ra microinches |
| Thermal Stability | 0.0008 inches drift | 0.0002 inches drift |
| Part Rejection Rate | 3.2% | 0.4% |
Achieving Maximum Accuracy: Step-by-Step Process
Step 1: Machine Calibration and Verification
Begin with laser calibration of all axes. Verify squareness and positioning accuracy. Document baseline performance metrics.
Step 2: Thermal Management Implementation
Establish stable room temperature conditions. Implement machine warm-up procedures. Use thermal compensation software if available.
Step 3: Tooling Selection and Preparation
Choose premium-grade cutting tools exclusively. Preset tools offline to minimize variation. Monitor tool wear systematically.
Step 4: Workholding Strategy Optimization
Use rigid, precision vises and fixtures. Minimize overhang and maximize support. Verify workpiece stability before machining.
Step 5: Cutting Parameter Refinement
Optimize speeds and feeds for each operation. Balance material removal with tool deflection. Conduct test cuts for verification.
The Economic Value of Precision
High-accuracy machines command premium prices. However, their value extends beyond initial cost. Precision reduces scrap and rework expenses.
The 2024 Manufacturing Economics Study found precision machines reduce quality costs by 68% on average. That savings adds up quickly.
You’re investing in capability and reputation. Precision work commands higher prices and attracts better clients.
Future of Precision Machining Technology
Where is accuracy heading? In-process measurement and real-time compensation lead development. Machines are becoming self-correcting.
Artificial intelligence optimizes parameters dynamically. The future brings autonomous precision without constant human intervention.
Daily Accuracy Verification Checklist
- ✓ Machine warm-up cycle completed
- ✓ Temperature stability confirmed
- ✓ Tool runout measurement taken
- ✓ Workholding security verified
- ✓ First-article inspection performed
- ✓ Calibration certificate current
- ✓ Coolant concentration checked
- ✓ Air supply quality verified
Frequently Asked Questions
What maintenance practices ensure long-term accuracy for CNC 3 axis machines?
Regular ball screw lubrication, way alignment checks, spindle runout verification, and environmental control are essential. Annual laser calibration maintains specified tolerances.
How does room temperature affect CNC 3 axis machine accuracy?
Temperature variations of just 5°F can cause 0.0005 inch positioning errors in steel components. Maintaining ±2°F stability is crucial for high-precision work.
What is the difference between accuracy and repeatability in 3 axis CNC machining?
Accuracy measures how close to true position the machine moves. Repeatability measures how consistently it returns to the same position. Both are critical for precision work.
Can CNC 3 axis machines maintain accuracy during long production runs?
High-quality machines with thermal compensation maintain accuracy through extended runs. Regular in-process verification and tool wear monitoring are essential for consistency.
