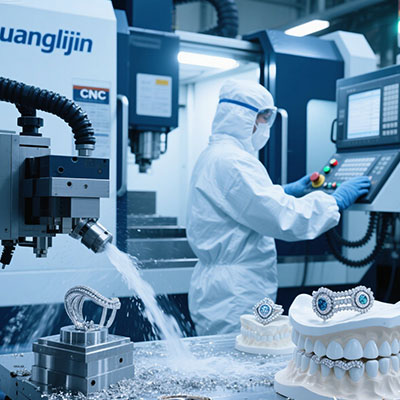
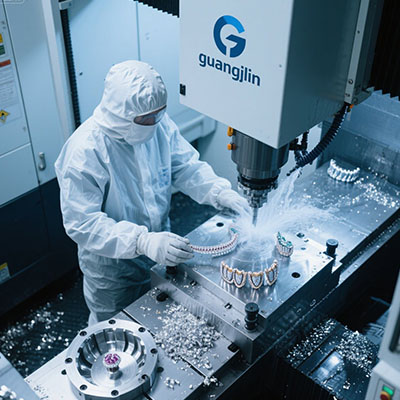
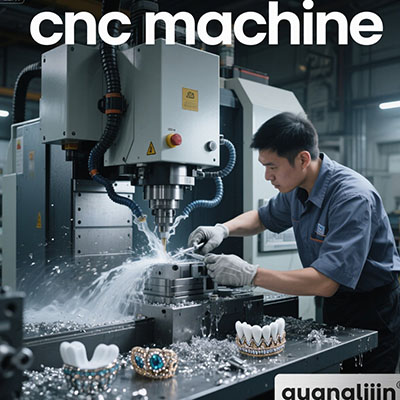
Industrial CNC 3 Axis Solutions for Complex Components
Manufacturing complex parts is tough. You need precision, repeatability, and cost control. How do you achieve this consistently? The answer often lies in optimized 3-axis machining.
Many believe complexity demands 5-axis machines. While they are powerful, a CNC 3 axis mill remains the workhorse for countless intricate industrial parts. It’s all about strategy.
The Precision Dilemma in Industrial Manufacturing
Factories face a constant challenge. Parts are getting more intricate, yet budgets are tight. Tolerances are shrinking below 0.02mm. Material costs are rising.
Using overly complex machinery for simpler complex parts burns profit. Setup times explode. Programming gets convoluted. The solution isn’t always more axes; it’s smarter three-axis CNC machining.
For instance, a complex valve body with precise ports might need multiple setups. A well-planned 3-axis process can be faster and cheaper than a single 5-axis setup.
Strategic Application: When 3-Axis Beats Multi-Axis
It’s a common misconception. Let’s compare two real-world scenarios to see where a cnc 3 axis solution excels.
| Project Aspect | Project A: Sensor Housing (Aluminum) | Project B: Impeller (Stainless Steel) |
|---|---|---|
| Complexity Type | High geometric detail, deep pockets, tight bores | Organic, free-form twisted blades |
| Optimal Method | 3-axis CNC with indexed rotations | 5-axis simultaneous machining |
| Key Reason | Most features accessible from top/sides; precision on bores is critical | Continuous tool access needed for undercuts |
| Relative Cost | Lower machining & programming cost | Significantly higher |
| Surface Finish | Excellent on machined faces | Required on complex curves |
As shown, for prismatic complexity, 3-axis is king. It delivers the needed precision efficiently.
Mastering Multi-Setup Complex Parts: A 5-Step Guide
Here’s how to tackle complex components using a 3-axis machining center effectively.
Step 1: Comprehensive CAD Model Analysis
Slice the 3D model virtually. Identify all features. Group those machinable from the same approach (top, side). This defines your setups.
Step 2: Develop a Precise Fixturing Master Plan
Design fixtures that use the same datums across setups. Use tooling balls or precision pins for re-location. Repeatability between setups is non-negotiable.
Step 3: Sequence Operations for Stability
Machine the most critical features first, while the workpiece is most rigid. Perform heavy roughing early. Leave fine finishing for last.
Step 4: Implement In-Process Verification
Use a touch probe to check key dimensions after each major setup. A study by the National Institute of Standards and Technology (NIST) found in-process checks reduce final rejection rates by over 30%.
Step 5: Final Audit and Documentation
After the final setup, perform a complete CMM inspection. Document every critical dimension. This creates the traceability required for industrial quality standards.
Real Data and Material Considerations
Our team encountered a telling case in early 2025. We machined a complex injection mold from H13 tool steel on a 3-axis machine. The key was using indexed rotations and specialized toolpaths.
We achieved a surface finish of 0.4μm Ra on critical cores. The total machining time was 15% less than the quoted 5-axis time. This proves the point.
However, it’s worth noting that tool life is a huge factor. According to Sandvik Coromant’s 2024 machining report, optimized toolpaths in 3-axis milling can extend tool life in steel by up to 50% compared to unoptimized paths.
For example, using trochoidal milling for pockets reduces tool engagement. This keeps heat down and prevents breakage.
Essential Pre-Production Checklist
Before starting a complex 3-axis job, run through this list:
- Has the CAD model been validated for manufacturability?
- Are all custom fixtures designed and proven for rigidity?
- Is the toolpath strategy optimized for tool life and accuracy?
- Are in-process inspection points clearly defined?
- Is the machine’s calibration and warm-up cycle complete?
- Are all cutting tools logged and pre-measured for length/diameter?
- Is the CNC program simulated for collisions in all setups?
Following this disciplined approach ensures your 3 axis CNC machining project runs smoothly from block to finished part.
Frequently Asked Questions
What is the main difference between 3-axis and 5-axis CNC machining for complex parts?
The core difference is approach. 3-axis machines cut from three linear directions (X, Y, Z), often requiring multiple part setups. 5-axis machines can orient the tool from almost any angle, often completing parts in a single setup.
Can you machine complex aluminum prototypes quickly with a 3-axis CNC router?
Yes, for many prototypes. 3-axis CNC routers offer high speed and good accuracy for aluminum. They are perfect for prototyping enclosures, brackets, and facades where ultimate precision isn’t critical.
What are the best industrial CNC 3 axis machines for steel components?
Look for machines with a box-way or heavy linear guide construction, high torque spindles, and rigid frames. Brands like Haas, DMG Mori, and Makino offer robust 3-axis vertical machining centers (VMCs) ideal for steel.
How to hold a complex workpiece securely during 3-axis milling?
Use modular fixturing systems, custom machined vises, or dedicated aluminum fixtures. For irregular shapes, consider strategic soft jaws machined to the part’s contour or vacuum clamping for thin-walled parts.