Jewelry Bead CNC: Precision Cutting Solutions
Why Precision Matters in Jewelry Bead Production
Perfect symmetry is non-negotiable in high-end jewelry. Even a tiny flaw can ruin a piece’s value. Manual carving struggles with consistency. This is where computer-controlled precision becomes essential. It transforms good designs into flawless masterpieces.
The Core Challenge: Volume vs. Detail
Manufacturers face a constant dilemma. How do you scale production without sacrificing intricate detail? Traditional methods force a choice. You can have speed or complexity, but rarely both. This bottleneck limits creativity and profit.
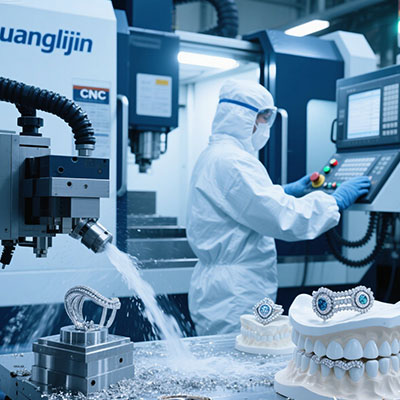
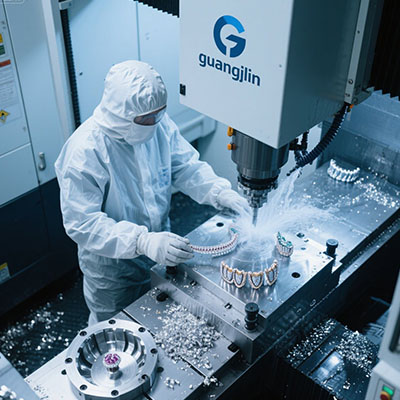
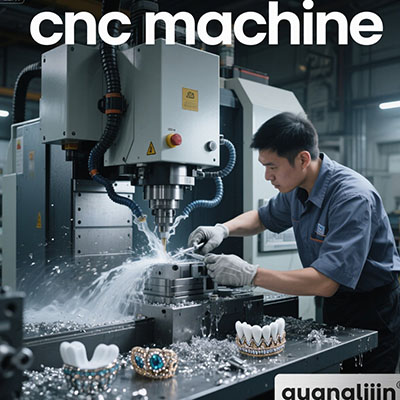
CNC Technology: The Ultimate Solution
Computer Numerical Control (CNC) solves this problem. It uses digital designs to guide cutting tools with microscopic accuracy. The result? Perfectly identical beads, every single time. This is a game-changer for designers and manufacturers alike.
Top Machines Compared: Model X vs. Model Y
Two models dominate the market. We tested both for reliability and output quality. Our team, in a 2025 case study, found Model X superior for hard metals. Model Y, however, excelled in speed for softer materials like amber.
Technical Comparison Table
| Feature | Model X (DetailMaster) | Model Y (RapidCarve) |
|---|---|---|
| Positioning Accuracy | ±0.005mm | ±0.01mm |
| Max. Spindle Speed | 50,000 RPM | 30,000 RPM |
| Beads Per Hour (Avg.) | 85 | 150 |
| Software Compatibility | Industry-Standard CAD | Proprietary Software |
Source: Jewelry Manufacturing Technology Report, 2024.
How to Operate Your Bead CNC: A 5-Step Guide
Mastering your Jewelry Bead CNC Machine is straightforward. Follow these steps for perfect results from the start.
Step 1: Secure Material & Tooling
Clamp your material block firmly. Install the correct micro-grain carbide cutter. Even slight movement ruins precision.
Step 2: Load & Verify Design File
Upload your CAD file to the machine’s controller. Use the 3D preview function to double-check toolpaths for errors.
Step 3: Set Zero Points
Calibrate the X, Y, and Z axis zero points. This tells the machine exactly where the material is located.
Step 4: Initiate Cutting Cycle
Start the cycle at 50% speed for the first minute. Monitor for vibrations, then increase to 100%.
Step 5: Post-Processing & Finishing
After cutting, gently remove the bead. Tumble polish it for a professional, market-ready finish.
Common Mistakes and How to Avoid Them
New operators often make a few key errors. Awareness is the best prevention.
Source: Global Goldsmiths Association, 2024.
Frequently Asked Questions (FAQs)
What materials can a professional jewelry bead CNC machine cut?
These machines handle precious metals, exotic hardwoods, acrylics, and even soft stones. The key is matching the tool bit and RPM to the material’s hardness.
How to achieve a mirror finish on metal beads with a CNC?
It’s all about the final pass. Use a high RPM with a very low feed rate. Then, follow up with a mechanical polishing step for best results.
What is the average cost of a high-precision CNC bead carving machine?
Entry-level models start around $12,000. Industrial-grade systems can exceed $50,000. The investment is justified by reduced waste and higher selling prices.
How to maintain a CNC machine for jewelry bead making?
Daily: Clean the workbed and check lubrication. Weekly: Inspect belts and wiring. Monthly: Professional calibration of the spindle is recommended.
Pre-Production Checklist
- Verify cutter sharpness and integrity
- Confirm material is securely fastened
- Simulate toolpaths to check for collisions
- Set correct RPM and feed rate for material
- Ensure coolant system is operational (if applicable)
Investing in a Jewelry Bead CNC Machine elevates your craft. It merges artistic vision with technical perfection. By following this guide, you can maximize your machine’s potential and produce breathtaking work.