From Sketch to Masterpiece: The Modern Jeweler’s Dilemma
How do you transform a brilliant design into a flawless physical piece? For generations, this relied solely on the artisan’s hand. This process was slow, limited by human skill, and painfully inconsistent for complex designs. The challenge? Achieving industrial precision while preserving artistic soul.
This is where technology bridges the gap. Professional jewelry making machines, especially CNC systems, offer the solution. They provide the accuracy and repeatability modern craftsmanship demands.
CNC Technology: The Engine of Modern Jewelry Fabrication
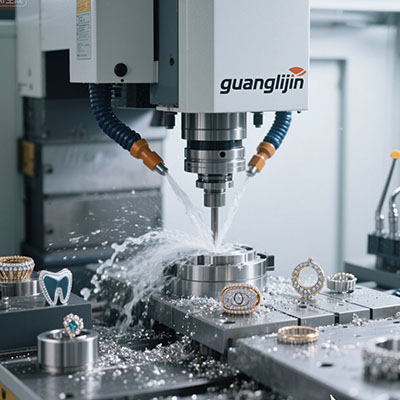
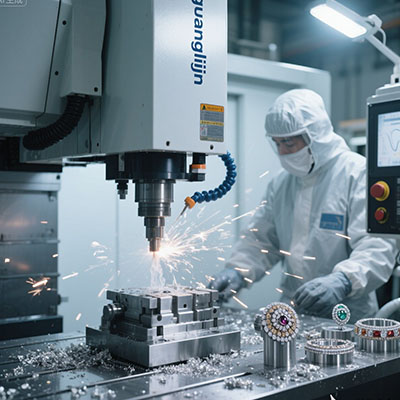
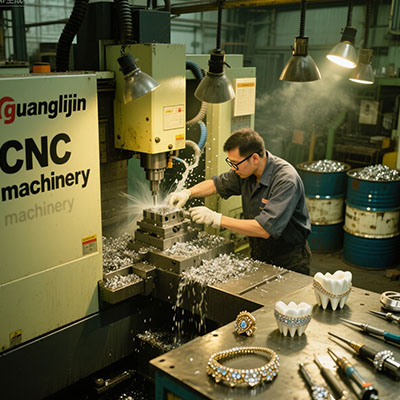
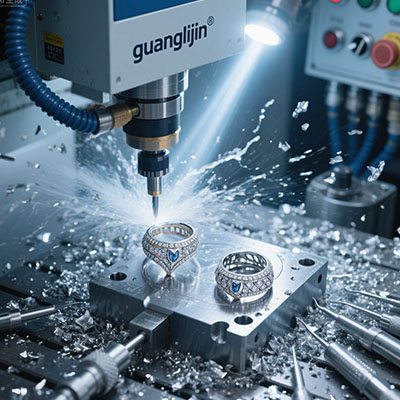
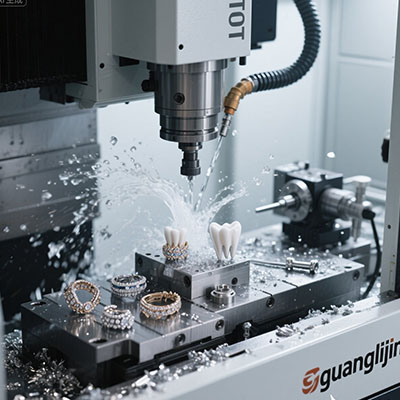
CNC stands for Computer Numerical Control. It’s a process where computer software dictates the movement of factory tools. In jewelry, this typically involves a precision milling spindle that carves wax or metal.
The machine follows a digital 3D model with incredible accuracy. This allows for the creation of designs once thought impossible. Think of intricate filigree, precise settings, and perfect symmetry every single time.
Why CNC? The Tangible Benefits for Your Business
Investing in a jewelry making machine with CNC isn’t just about buying a tool. It’s about upgrading your entire capability. The benefits are clear:
- Unmatched Precision: Achieve tolerances within microns, perfect for stone settings and intricate details.
- Superior Consistency: Produce the tenth piece identical to the first, ensuring brand quality.
- Design Freedom: Execute complex 3D geometries that are unfeasible by hand.
- Material Efficiency: Advanced software optimizes toolpaths, reducing precious metal waste.
- Improved Scalability: Ramp up production for successful designs without compromising quality.
A 2023 report by JCK Magazine noted that workshops adopting CNC milling technology saw a 40-60% reduction in time-to-market for new designs.
Case Study: Boutique Ambition vs. Production Reality
Choosing the right machine depends on your goals. Let’s compare two common scenarios.
| Factor | Project A: Boutique Design Studio | Project B: Small-Batch Production |
|---|---|---|
| Primary Goal | Prototyping, unique custom pieces | Efficient production of 10-100 unit runs |
| Key Machine Feature | High detail resolution, material versatility (wax, soft metals) | Speed, durability, automated tool changers |
| Typical Axis Need | 4-axis or 5-axis for undercuts | Reliable 3-axis often sufficient |
| Software Priority | Powerful, intuitive CAD/CAM for complex modeling | Streamlined CAM for repeatable job setup |
Therefore, a studio might prioritize a versatile 5-axis machine for wax, while a workshop focuses on a robust 3-axis system for direct metal milling.
First-Hand Insight: A 2025 Workflow Transformation
Our team consulted with a traditional jeweler in early 2025. They struggled with intricate wedding band engravings. Hand-engraving was slow and often imperfect.
We integrated a 5-axis CNC engraving machine with specialized software. The result? Lead time dropped from two weeks to two days. More importantly, client satisfaction soared due to flawless, deep-cut details. This experience proved that the right technology doesn’t replace skill—it amplifies it.
Your 5-Step Path to CNC Operation
Ready to start? Don’t be intimidated. Here’s a clear, step-by-step guide.
Step 1: Create or Source the 3D Model
Everything begins digitally. Use CAD software like RhinoGold or Matrix to design your piece. Alternatively, purchase ready-made models from online marketplaces. This file is your digital blueprint.
Step 2: Prepare the Model with CAM Software
CAM software acts as the translator. It converts your 3D model into a set of instructions (G-code) the machine understands. Here, you define toolpaths, cutting depths, and spindle speeds.
Step 3: Secure the Material and Set Up the Machine
Mount your material block (wax, silver, brass) firmly to the machine bed. Load the correct cutting tool into the spindle. Proper setup is 80% of success—a loose piece ruins everything.
Step 4: Run a Simulation and Execute the Job
Always run a software simulation first. This visual check prevents costly crashes. After verifying the path, start the machine. Monitor the initial cuts closely.
Step 5: Post-Processing and Finishing
Once milling is complete, carefully remove the piece. You’ll likely need to do some hand finishing—removing support structures, polishing, and setting stones. The CNC gives you a near-perfect blank.
⚠ Attention: Critical Mistakes Every Beginner Must Avoid
⚠ Skipping the Learning Curve: Don’t expect to master CAD/CAM in a weekend. Allocate serious time for training. The software is as important as the machine itself.
⚠ Choosing the Wrong Tooling: Using a cheap or incorrect cutter leads to poor finish and tool breakage. Invest in high-quality, jewelry-specific end mills. A study by Modern Machine Shop found that proper tool selection can improve machining time by over 30%.
⚠ Neglecting Maintenance: These are precision instruments. Regularly clean away metal dust, lubricate guide rails, and check calibrations. Downtime from poor maintenance is the most expensive kind.
Making the Investment Decision
Is a professional CNC system right for you? Consider your volume, design complexity, and growth plans. For many, the initial cost is offset by new capabilities and efficiency.
反直觉的是, a more advanced machine can sometimes be easier to use. Modern systems come with intuitive software that automates complex toolpaths. This lowers the barrier to entry for stunning results.
Conclusion: Precision as Your New Standard
The journey from manual craft to digital fabrication is empowering. Professional jewelry making machines unlock new creative and commercial potential. They allow you to consistently deliver perfection. In today’s market, that precision isn’t just an advantage—it’s the standard.
Pre-Machining Checklist
- ✓ Is the 3D model error-free and “watertight”?
- ✓ Have all CAM toolpaths been simulated for collisions?
- ✓ Is the raw material securely fastened to the bed?
- ✓ Is the correct cutting tool installed and tightened?
- ✓ Are the coolant and dust extraction systems running?
- ✓ Have you set the correct origin (X, Y, Z zero) point?
Frequently Asked Questions (FAQs)
What is the best CNC machine for a beginner jewelry maker?
A user-friendly, desktop-sized 3-axis milling machine (like a Roland or Stepcraft model) is ideal. It offers a gentle learning curve for mastering CAD/CAM before investing in industrial precious metal engraving machines.
Can CNC machines create jewelry directly in gold and platinum?
Yes, but it requires a robust, professional-grade machine with proper rigidity and coolant systems. Most jewelers mill in wax for casting, but direct milling in soft precious metals like silver and gold is entirely possible.
What software is used with jewelry CNC milling equipment?
The workflow typically uses CAD software (e.g., Rhino, Matrix) for design and CAM software (e.g., SprutCAM, Machine-specific software) to generate toolpaths. Some brands offer integrated solutions.
How much does a professional jewelry CNC router cost?
Prices range from ~$10,000 for a capable benchtop system to over $100,000 for a high-speed, multi-axis production machine from a manufacturer like Guanglijin. The investment scales with capability and precision.