SEO Description: Precision cnc 3 axis milling machine solutions for aerospace parts. Rigidity, thermal control, probing steps.
Aerospace procurement teams ask a hard question. Why buy a three-axis machine when five-axis platforms dominate the trade press? The answer sits in the part envelope. Most structural airframe components are prismatic. They have pockets, ribs, and holes on one dominant face. A rigid three-axis platform machines them faster, cheaper, and with fewer variables.
Precision is the operative word. A standard vertical mill holds 0.025 mm on a good day. An aerospace-grade cnc 3 axis milling machine holds it across a full shift, through thermal swings, and under heavy cutting loads. That capability defines the solution.
What Separates Aerospace-Grade From General-Purpose
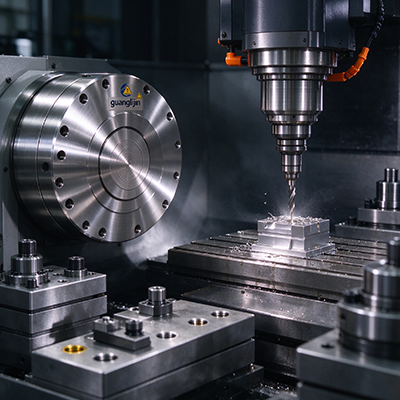
Rigidity comes first. A cast iron base with box ways absorbs vibration that linear guides transmit. Under titanium roughing loads, that difference shows in tool life and surface finish. The Haas HDC-3 double-column mill carries 4,536 kg on its table for this reason . Large airframe sections demand that structural capacity.
Thermal stability comes second. Spindle and ballscrew growth shift the tool tip relative to the part. A 500 mm ballscrew rising 3°C moves the table by tens of microns. Active thermal compensation in the control adjusts for this. Machines without it require manual offset corrections during the shift.
Feedback closes the loop. Linear glass scales read table position directly. Rotary encoders on the ballscrew measure screw rotation, not table position. Ballscrew growth introduces error the encoder cannot detect. Glass scales eliminate that blind spot.
These three factors separate a precision platform from a general-purpose mill. The price gap is real. The accuracy gap justifies it for aerospace work.
Comparison: Two Precision Solutions for Different Part Families
| Specification | Project A: Vertical Precision Mill | Project B: Double-Column Bridge Mill |
|---|---|---|
| Architecture | C-frame vertical, moving table | Double-column, fixed bridge |
| Table Capacity | ~1,300 kg | ~4,536 kg |
| Best For | Brackets, fittings, housings | Wing ribs, bulkheads, long sections |
| Thermal Strategy | Active compensation, warm-up cycle | Symmetrical structure, cooled ballscrews |
| Feedback | Glass scales on all axes | Glass scales, dual feedback |
| Footprint | Moderate | Large |
| Typical Investment | $120k–$250k | $350k–$700k+ |
| Installation Demand | Standard foundation | Engineered foundation, leveling critical |
Project A suits shops running varied aerospace work in moderate batches. Project B rewards manufacturers with stable contracts on large structural parts. The double-column frame puts cutting force into a closed structure. That rigidity shows in surface finish on deep pockets and long walls.
However, the bridge mill demands installation discipline. Thermal symmetry disappears on a floor with a temperature gradient. Precision without proper foundation work is a brochure claim.
Step-by-Step: Commissioning a Precision Three-Axis Solution
- Level and Anchor Before Power-Up. Precision begins with the foundation. Use a precision level at multiple table points. Check for twist across full travel. Anchor bolts torqued to specification prevent vibration from walking the machine out of alignment over months of operation.
- Run a Daily Thermal Warm-Up Protocol. Spindle and ballscrew growth follow predictable curves. A 20–30 minute warm-up at production speeds stabilizes temperatures before the first cut. Document the program. Treat it as part of the process, not an optional ritual.
- Verify Geometry With a Ballbar Test. A ballbar reveals servo mismatch, squareness error, and backlash in a single circular test. Run it at commissioning and monthly thereafter . Trend the results. A change in the plot signals wear before scrap appears.
- Calibrate the Touch Probe Against a Master Artifact. The probe is only as accurate as its calibration. Use a certified sphere or ring gauge. Verify repeatability in all three axes. An uncalibrated probe introduces error into every work offset the machine uses.
- Establish Thermal Compensation Offsets. Cut a test part. Measure it cold and hot. Compare measured growth against the control’s predicted growth. Tune the compensation model until the two match. Repeat after any foundation or spindle change.
- Probe After Roughing, Adjust Before Finishing. Roughing generates heat and relieves residual stress. The part moves. Probe critical datums after roughing and update work offsets before finishing. One aerospace shop cut scrap 33% in 2025 with this single step .
Mistakes That Undermine Precision Solutions
⚠ Attention: Avoid assuming glass scales eliminate all thermal error. Scales read table position accurately. The workpiece grows with temperature too. A part measuring 0.020 mm oversize at 26°C may be perfect at 20°C. Measure at the print-specified temperature or apply thermal correction.
We worked with a Tier 2 aerospace supplier in 2025 that fought a persistent taper problem on aluminum ribs. The machine passed ballbar and laser interferometer tests. The culprit was fixture clamping sequence. Clamping one end first tilted the part 15 microns before the second clamp engaged. Changing to simultaneous hydraulic clamping removed the taper. The machine was never the problem. The setup was.
Another common error involves tool setting. Laser tool setters measure length to a few microns. Touching off on a workpiece surface introduces variation from surface finish and contact pressure. For precision aerospace work, use a laser or contact presetter, not the part surface.
Probing and In-Process Verification
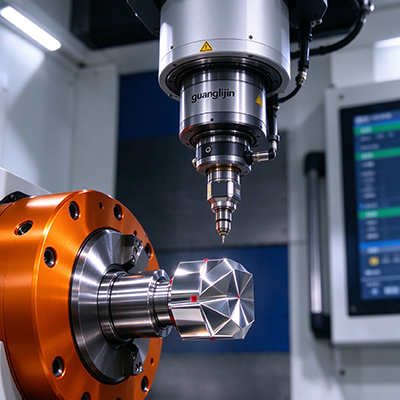
Precision without verification is faith. Aerospace shops verify. Spindle-mounted touch probes check critical features during the cycle. If a pocket is 0.015 mm off, the machine adjusts the wear offset for the next part before the first one is scrapped.
Table-mounted probes add another layer. They check fixture and part datum before cutting begins. A fixture that shifted between shifts shows up immediately. The operator corrects the offset before the tool touches metal.
Data logging turns probing into a trend. Store every measurement. Plot results over weeks. Thermal drift, wear, and fixture degradation appear as slow curves, not sudden failures. The best cnc 3 axis milling machine solutions make this data accessible through the control. Shops that use it catch problems while they are still cheap.
Tooling and Coolant for Precision Aerospace Milling
Tool runout is the silent accuracy killer. A holder running 0.015 mm out at the tool tip cuts a hole larger than programmed. Shrink-fit holders with runout below 0.005 mm are standard for precision work. Hydraulic holders work for moderate speeds. Precision begins at the spindle taper and ends at the cutting edge.
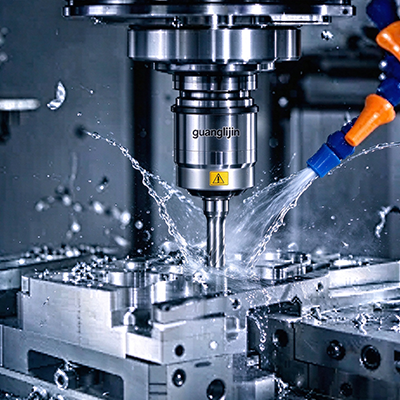
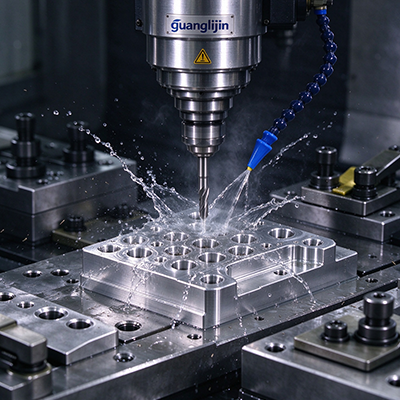
Coolant strategy follows material behavior. Aluminum rewards high-volume flood coolant directed at the pocket floor. Chips that stay in the flute get recut and weld to the edge. Titanium demands through-spindle coolant at 70 bar or higher. Heat concentration at the cutting edge destroys tools. Coolant must reach the tip, not the wall.
Tool life baselines belong in the setup documentation. Record tool life per material and operation. A baseline that drifts downward signals a problem in the setup. The machine, the fixture, or the coolant. Finding the source early keeps precision predictable.
Frequently Asked Questions
Q: What positioning accuracy should I look for in a precision 3-axis CNC milling machine for aerospace?
A: Look for repeatability of 0.005 mm or better and positioning accuracy of 0.010 mm across full travel. Verify on your floor, not just the spec sheet. Glass scales, active thermal compensation, and a rigid cast structure support that precision level.
Q: How does thermal growth affect 3-axis CNC machining accuracy?
A: Spindle and ballscrew temperatures rise during operation. Growth shifts the tool tip relative to the part. A 3°C rise in a 500 mm ballscrew moves the table by tens of microns. Warm-up cycles, active compensation, and post-roughing probing manage the effect.
Q: Why do aerospace shops use touch probes on 3-axis CNC mills?
A: Probes verify part position, fixture location, and critical features during the cycle. Post-roughing probing captures thermal growth and stress relief movement. Data logging turns results into trend analysis. This prevents scrap before it happens .
Q: Can a vertical 3-axis mill hold aerospace tolerances on large bulkheads?
A: A well-built vertical with glass scales, thermal compensation, and adequate table capacity handles medium bulkheads. Very large structural sections benefit from a double-column bridge mill where the closed frame resists deflection across long spans. Match architecture to part envelope.
Precision is a practice, not a specification. A rigid platform with closed-loop feedback provides the foundation. Thermal discipline, probe verification, and data trending turn that foundation into parts that pass inspection every shift. Aerospace shops that build these habits get more from a three-axis solution than shops that chase axis count.
✅ Precision Three-Axis Milling Solution Checklist
- Foundation leveled and anchor bolts torqued to specification
- Floor vibration measured before installation
- Daily warm-up protocol documented and followed
- Ballbar test completed at commissioning and scheduled monthly
- Linear glass scales verified on all axes
- Touch probe calibrated against certified master artifact
- Thermal compensation model tuned against measured part growth
- Probe cycle scheduled after roughing for offset correction
- Tool setting done with laser or presetter, not part surface
- Holder runout measured below 0.005 mm
- Clamping sequence reviewed for part distortion
- Measurement data logged and trended over time
Data sources: Haas Automation HDC-3 specifications ; DN Solutions DNM series technical data ; aerospace machining process guidance (2025) .