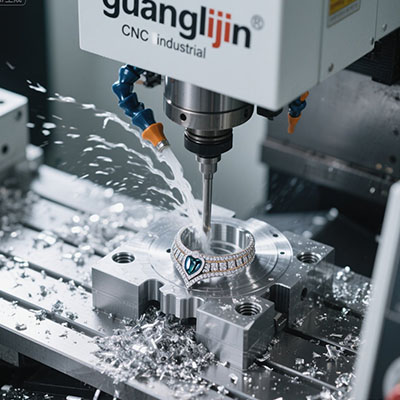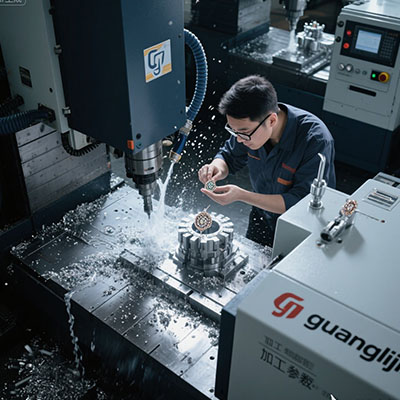
Most router kits ship without a workholding plan. The machine arrives, the spindle spins, and the first job reveals the gap. Parts shift, clamps collide with the gantry, and setup time eats the margin.
This guide treats “fixture ready” as a real requirement for a 3 axis cnc router machine kit. It covers workholding options, a comparison of two fixturing approaches, and a five-step setup routine. You will also find a warning block and a closing checklist.
Why Workholding Decides Kit Productivity
A router kit’s cycle time means little if setup takes longer than the cut. Small shops often lose hours clamping, aligning, and re-clamping parts. That lost time is the hidden cost of a kit without a fixturing plan.
Workholding also affects accuracy. A part that shifts by 0.1 mm during a cut is scrap. A clamp that sits in the tool path forces a tool path revision or a crash. Therefore, workholding deserves the same evaluation as spindle power and frame rigidity.
Vacuum tables, T-slot beds, fixture plates, and modular clamping systems each solve a different problem. The right choice depends on part size, material, and batch size.
Workholding Options for Router Kits
Vacuum tables hold flat sheet goods with even force and no clamp interference. They suit nested cabinet parts, composite panels, and thin aluminum sheet. T-slot beds accept clamps and fixture plates for thicker parts and prototype work.
Fixture plates with threaded holes allow repeatable part location across batches. Modular clamping systems add flexibility for odd shapes. A kit with a T-slot bed and a fixture plate covers most small-shop needs.
Project A vs Project B: Clamp-and-Go vs Fixture-Ready Setup
We compared two workholding approaches on identical router kits cutting aluminum brackets and composite panels. One used improvised clamping. The other used a fixture-ready setup with a T-slot bed and dedicated fixture plates. Our team tracked setup time and scrap during a 2025 evaluation of small-shop router productivity.
| Parameter | Project A: Clamp-and-Go | Project B: Fixture-Ready |
|---|---|---|
| Workholding cost | ~$120 in assorted clamps | ~$850 in T-slot bed and plates |
| Setup time per batch | 35 minutes | 12 minutes |
| Part shift incidents (month 1) | 6 | 0 |
| Scrap from shifting | ~$700 | ~$80 |
| Clamp collisions with gantry | 3 | 0 |
| Repeatability across batches | Poor, manual alignment | High, indexed location |
Project A saved roughly $700 on workholding. It lost that and more to scrap and setup time within the first month. Project B cost more upfront and cut setup time by two-thirds. Consequently, fixture-ready workholding pays back faster than most kit upgrades.
How to Set Up Fixture-Ready Workholding: 5 Steps
Fixture setup follows a logical order. Each step builds repeatability into the next batch. Work through them before running production parts.
Step 1: Choose the Workholding Method for Your Part Family
List the parts you run most often. Flat sheet goods point to vacuum or T-slot. Thick blocks and prototypes point to fixture plates and clamps. A mix of both suggests a T-slot bed with an added vacuum zone.
Step 2: Establish a Repeatable Datum
Pick a corner or pin location that stays fixed across batches. Cut or mount a datum stop and record its machine coordinates. Every fixture plate should reference that datum. Repeatability starts with a single fixed reference.
Step 3: Design Fixtures Around Tool Access
Check that clamps and bolts sit outside the tool path. Model the fixture in CAM before cutting. A clamp that intrudes by 2 mm causes a crash or a tool path revision. Clearance is cheaper to design than to discover.
Step 4: Use Indexed Pins or Threaded Holes for Location
Indexed pins and threaded holes locate parts faster than manual alignment. A fixture plate with a hole pattern lets you bolt down sub-plates and swap jobs quickly. This step cuts setup time on repeat batches.
Step 5: Run a Trial Batch and Measure Repeatability
Cut three parts in sequence using the same fixture setup. Measure each against the drawing. Variation between parts reveals fixture weakness. A repeatable setup holds the same tolerance across every part in the batch.
- Clamping outside the fixture footprint. Clamps that sit in the tool path cause crashes and broken tools. Model every clamp in CAM before cutting the first part.
- Relying on manual alignment for repeat batches. Hand alignment drifts between setups. Indexed pins and datum stops hold location across batches.
- Ignoring vacuum loss on porous materials. MDF and some composites leak air and lose hold. Use a bleeder board and verify vacuum pressure before cutting.
Workholding Cost Tiers and What They Buy
Basic clamping runs $100 to $300 and covers occasional prototype work. A T-slot bed with fixture plates runs $500 to $1,200 and supports repeat batches.
Vacuum table systems run $800 to $2,500 depending on zone count and pump size. They suit nested sheet work and thin materials. Modular fixturing systems sit higher and add flexibility for odd shapes. Match the tier to your batch size and part family.
Frequently Asked Questions About Router Machine Workholding
What workholding should I add to a 3 axis CNC router machine kit?
Start with a T-slot bed and a fixture plate if you run repeat batches. Add vacuum for flat sheet goods and thin materials. Indexed pins and datum stops improve repeatability across setups.
How much does a fixture-ready workholding setup cost?
Basic clamping runs $100 to $300. T-slot beds with fixture plates run $500 to $1,200. Vacuum systems run $800 to $2,500 depending on zones and pump size. Modular systems cost more and add flexibility.
Can a router kit cut small parts without a vacuum table?
Yes, with fixture plates and clamps. Small parts need secure hold-down and clearance from the tool path. Vacuum helps with thin sheet goods but is not required for thicker parts held in fixtures.
Why do parts shift during routing?
Insufficient clamping force, clamp placement in the tool path, or vibration loosening are common causes. Indexed fixtures and proper clamp torque reduce shifting. Check clamp contact and tool path clearance before each batch.
Final Checklist Before Running a Fixture-Ready Batch
- ☐ Workholding method matched to part family
- ☐ Datum stop or pin location established and recorded
- ☐ Fixture modeled in CAM with clamp clearance verified
- ☐ Indexed pins or threaded holes used for part location
- ☐ Clamp torque checked and consistent
- ☐ Vacuum pressure verified on porous materials
- ☐ Trial batch of three parts measured for repeatability
- ☐ Tool path checked for clamp interference
- ☐ Setup time recorded for future batch planning
A router kit without workholding is a machine waiting for a job. A fixture-ready kit is a production tool from the first batch. The difference is not the spindle or the frame. It is the decision to plan workholding before the first cut.