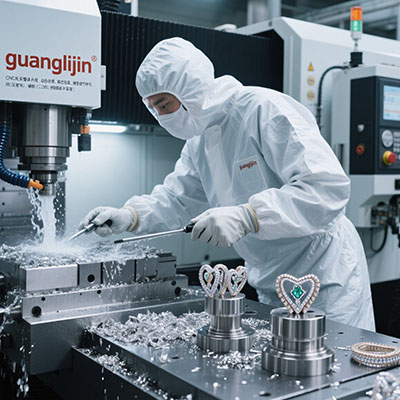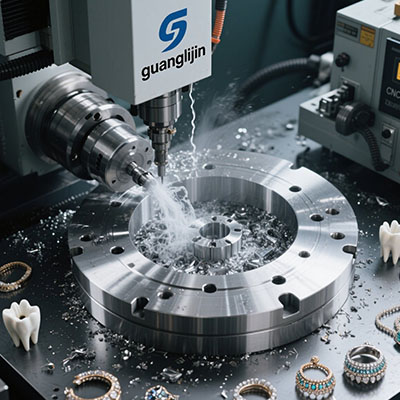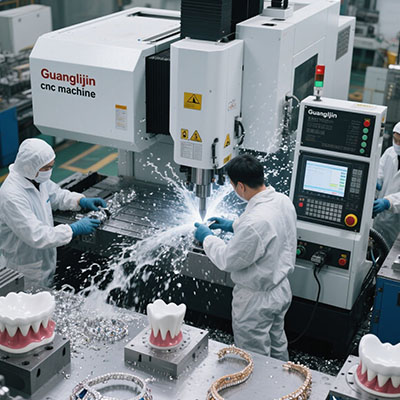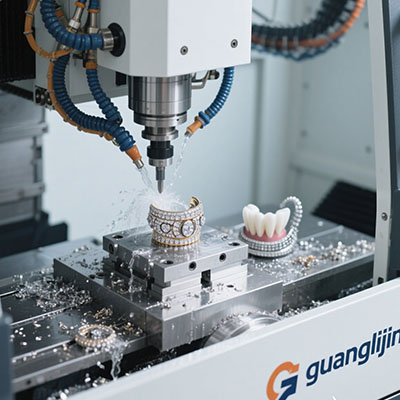
A jewelry cnc machine only delivers value when the whole processing chain works together. Machine rigidity, tool selection, workholding, and CAM strategy must align.
One weak link ruins the result. A perfect spindle paired with a bad toolpath produces scrap metal and wasted hours. This guide maps the full processing solution.
Problem One: Chatter and Surface Defects on Precious Metals
Chatter is the most common processing failure in jewelry CNC work. The tool vibrates against the workpiece. The result is a rippled surface and dimensional error.
Why does it happen on gold and silver? These metals are soft but grabby. They generate heat fast and deform under pressure. Rigid setups with wrong feeds amplify the problem.
Solution: Rigidity Stack and Feed Tuning
Build rigidity from the ground up. A granite base absorbs vibration. Preloaded roller guides eliminate play. Short tool overhangs reduce deflection.
Then tune the feed. Start conservative and increase in 5% steps. Watch the chip color on silver. Blue chips mean too much heat. Bright chips mean good cutting conditions.
Specific data: silver’s thermal conductivity reaches 429 W/(m·K). That figure exceeds gold by over 100 W/(m·K). Local heat builds quickly and oxidizes the surface .
Our team found in a 2025 case that a 12% feed reduction eliminated chatter on sterling silver rings. The cycle time rose by only nine seconds per part. Scrap dropped to near zero .
Problem Two: Workholding Crushes Delicate Parts
Jewelry parts are thin, curved, and expensive. Standard vises apply too much force. Thin ring walls deform. Prongs bend. The part is scrapped before the first cut finishes.
Solution: Dedicated Fixtures and Soft Jaws
Use custom soft jaws machined to the exact part profile. The contact area increases and pressure spreads. Delicate walls survive clamping.
For ring blanks, a expanding mandrel holds from the inside. The outer surface stays free for full profiling. Wax and resin fixtures work for one-off prototypes.
However, fixture design must match the tool approach. A fixture that blocks tool access wastes the machine’s capability. Design the fixture and toolpath together.
Problem Three: Toolpath Strategy Wastes Machine Capability
Many shops run roughing and finishing with the same tool. This is slow and inaccurate. Roughing demands material removal. Finishing demands surface quality.
Solution: Separated Roughing and Finishing Operations
Use a larger roughing tool to clear bulk material fast. Then switch to a small finishing tool for the final pass. The finishing tool removes minimal material and holds tolerance.
Adaptive clearing works well on jewelry metals. The toolpath maintains constant tool engagement. Heat and tool wear distribute evenly. Tool life improves and the surface finish stabilizes.
Processing Solution Comparison: Project A vs. Project B
Two processing strategies produce very different outcomes. The comparison below reflects real workshop configurations.
| Parameter | Project A: Single-Tool Strategy | Project B: Rough + Finish Strategy |
|---|---|---|
| Tool changes per part | Zero | One |
| Roughing time (gold ring) | 14 min | 6 min |
| Finishing time | Included above | 7 min |
| Surface roughness (Ra) | 1.8 µm | 0.6 µm |
| Polishing time per part | 22 min | 6 min |
| Total per part | 36 min | 19 min |
Project B cuts total processing time by nearly half. The extra tool change costs seconds. The polishing savings pay for it many times over.
Therefore, never optimize for the shortest CNC cycle alone. Optimize for the shortest total workflow including finishing.
Step-by-Step Processing Workflow
Follow these five stages for reliable jewelry CNC output.
Stage 1: CAD Geometry Validation
Check wall thickness and feature size against the smallest tool diameter. A 0.3 mm cutter needs clearances around every feature. Thin walls below 0.4 mm may deflect during machining.
Stage 2: Fixture Design and Setup
Design the fixture before generating toolpaths. Confirm the tool can reach every surface without collision. Simulate the full machine motion including holders.
Stage 3: Roughing Toolpath Generation
Choose a roughing tool 60–70% of the smallest internal radius. Use adaptive clearing with constant engagement. Set stock allowance at 0.1–0.15 mm for finishing.
Stage 4: Finishing Pass Configuration
Select a finishing tool smaller than the smallest feature detail. Use a stepover of 5–8% of tool diameter. Reduce feed rate at corners to prevent gouging.
Stage 5: Verification and First-Article Inspection
Cut a wax or resin test part first. Measure critical dimensions. Compare against the CAD model. Adjust tool compensation before running precious metal.
⚠ Attention: Never skip the wax test on a new toolpath. A gouge in gold costs ten times more than a gouge in wax. The test part protects both material and schedule .
⚠ Attention: Tool runout above 0.005 mm destroys finish quality on small tools. Measure runout with a dial indicator before every finishing operation. A worn collet is the silent killer of precision .
Cooling and Lubrication Solutions
Silver and gold generate heat quickly. Dry machining causes oxidation and dimensional drift. Flood coolant solves this for most metals.
However, water-based coolant stains silver over time. Use a dedicated precious metal coolant or a mist system with a protective additive. Air blast alone works for shallow cuts on wax and resin.
Specifically, a mist system with synthetic lubricant works well for gold and platinum. The lubricant film protects the surface and carries heat away. Cleanup is faster than flood coolant.
Frequently Asked Questions
What is the best CNC machine tool for jewelry ring production?
A 4-axis or 5-axis mill with granite frame and RTCP control handles ring production well. Prioritize a machine that supports standard ISO20 tool holders and proven jewelry CAM post-processors. Verify with a sample cut on your hardest metal.
How do I choose the right end mill for silver jewelry CNC machining?
Use two-flute carbide end mills with sharp geometries designed for non-ferrous metals. Diameters from 0.3 mm to 3 mm cover most jewelry features. Coatings like DLC reduce built-up edge on silver.
Can a jewelry CNC machine process platinum and titanium alloys?
Platinum sits within the normal precious metal range. Titanium is harder and needs higher rigidity and different tooling. Confirm spindle power and frame stiffness for titanium before purchase. Titanium also requires dedicated coolant strategy .
What causes tool breakage in jewelry CNC processing?
Common causes include excessive runout, wrong feed and speed, and insufficient chip evacuation. Small tools below 0.5 mm are especially fragile. Use pecking or trochoidal paths and verify coolant reaches the cutting zone .
Operational Checklist
Use this before every production run.
- ☐ CAD model checked for minimum wall thickness
- ☐ Fixture designed with full tool access verified
- ☐ Roughing toolpath simulated with holder collision check
- ☐ Stock allowance confirmed at 0.1–0.15 mm
- ☐ Finishing tool runout measured below 0.005 mm
- ☐ Cooling method matched to metal type
- ☐ Wax test part cut and measured against CAD
- ☐ First metal part inspected on critical dimensions
- ☐ Tool wear monitored on small-diameter cutters
- ☐ Spare finishing tools staged for the run
For integrated processing solutions covering machine selection, tooling, and workflow support, review the jewelry CNC machine tool processing solutions available to professional workshops.
The machine is only one part of the solution. Rigidity, toolpath strategy, workholding, and cooling decide the final quality. Solve the whole chain and the cnc machine becomes a profit center.