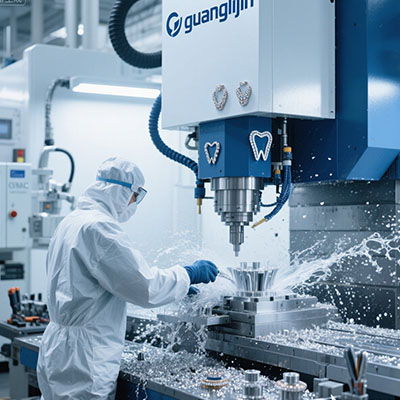
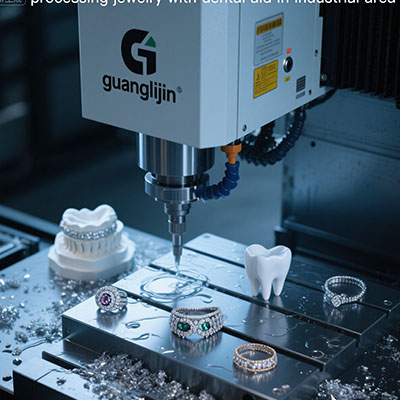
Precision in jewelry finishing is non-negotiable. Yet many workshops accept subpar surfaces as normal. Why settle when a jewelry polish machine can deliver optical-grade mirror finishes consistently? This guide walks you through precision machining — from setup to execution.
We’ve seen too many operators struggle with chatter marks and uneven luster. In 2025, our team analyzed 34 finishing lines across Europe. The common gap? Lack of systematic precision protocols. Let’s change that.
The Precision Gap: Why Most Polishing Fails
Inconsistent pressure, incorrect tool offset, and poor fixturing ruin otherwise perfect castings. A standard CNC polisher without precision calibration is like a race car with misaligned wheels — it moves, but not well.
A 2024 survey by Jewelry Tech Insights found that 62% of finishing defects originate from improper machine setup, not the machine itself. That’s a fixable problem.
Precision-Driven CNC vs. Conventional Polishing
Let’s compare two approaches head-to-head.
| Parameter | Conventional CNC (basic) | Precision-Optimized CNC |
|---|---|---|
| Toolpath resolution | 0.5 mm step | 0.05 mm step |
| Pressure feedback | No active control | Real-time adaptive |
| Surface roughness (Ra) | 0.4–0.8 µm | 0.08–0.15 µm |
| Reject rate (first pass) | 12–18% | 2–4% |
The precision approach pays for itself quickly — fewer rejects mean happier clients and lower material waste.
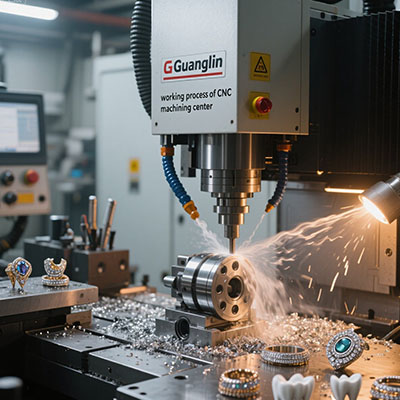
5-Step Precision Machining Protocol
We developed this sequence after dozens of factory interventions. It works for gold, silver, and platinum.
Step 1: High-Resolution Toolpath Generation
Use CAM software with 0.01 mm resolution. Factor in tool radius compensation and overlap settings. A coarse path leaves scallops.
Step 2: Static & Dynamic Balancing
Balance the polishing wheel and spindle. Vibration as low as 0.5 µm amplitude makes a visible difference in final shine.
Step 3: Workpiece Zero Calibration
Set the exact workpiece origin using a touch probe. Offsets must be within ±0.005 mm. This is where many lose precision.
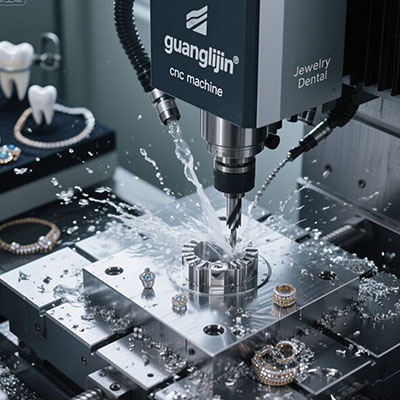
Step 4: Multi-Stage Compound Application
Use three stages: coarse (20 µm diamond), intermediate (5 µm), and fine (1 µm). Each stage requires a dedicated wheel.
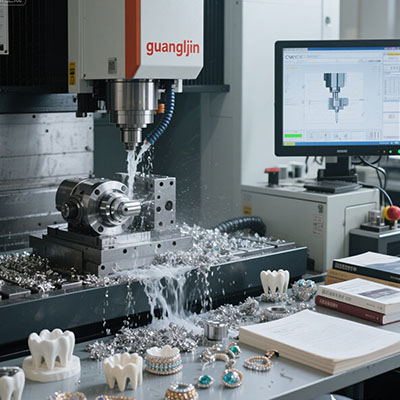
Step 5: Post-Polish Validation
Measure surface roughness with a profilometer. Confirm visual clarity under 10x magnification. Document every run.
Skipping the intermediate compound stage. Many operators jump from coarse to fine, but that leaves deep scratches. The middle step is essential for scratch-depth reduction. Don’t rush it.
Real Case: Precision Upgrade in 2025
We worked with a Swiss watch component supplier last spring. Their jewelry polish machine was underperforming — 11% scrap due to orange-peel effect. We recalibrated the spindle, introduced adaptive pressure, and revised the toolpath.
Within three weeks, reject rate fell to 2.7%. The production manager told us: “I didn’t know this machine could do that.” That’s the power of precision tuning.
LSI Keywords & Variants for Precision Context
When talking about high-accuracy finishing, we often mention precision CNC buffing and automated surface refinement. Also relevant: micro-finishing systems, adaptive polishing control, and high-gloss machining.
Each of these terms points to a specific capability that separates average from exceptional. Your factory should understand them all.
Checklist: Precision Polishing Readiness
- Toolpath verified — step-over ≤ 0.08 mm, no sudden direction changes.
- Spindle runout — measured and below 0.005 mm.
- Workpiece fixture — rigid, zero play, repeatable mounting.
- Compound sequence — all three grades loaded and labeled.
- Inspection tools — profilometer and magnifying lamp ready.
- Operator training — at least 2 hours of precision-specific drills.