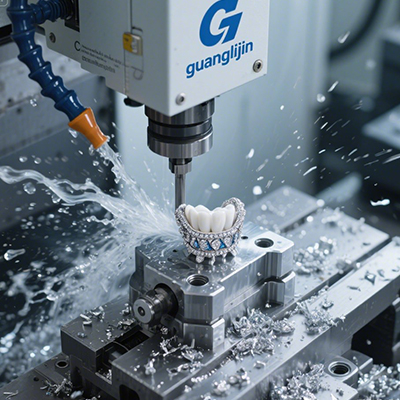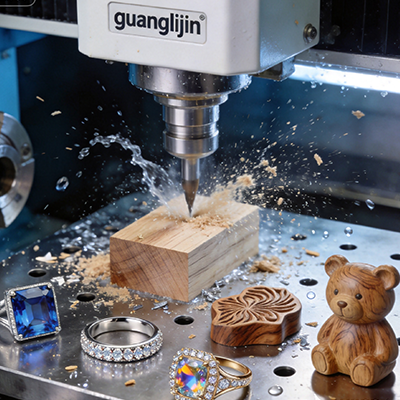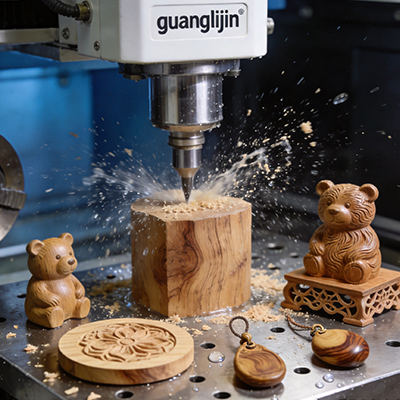
Profiling curved wood parts sounds simple until the first complex run. The tool tilts. The grain fights back. Edges burn or tear out. A shop then discovers that a three-axis router cannot reach the geometry, and a tilting head without true interpolation only makes things worse. This guide focuses on that gap. We explain how a real 5 axis wood cnc machine handles profiling work, how to test one before buying, and which setup choices match your part family.
Why Profiling Demands More Than a Tilting Head
Profiling means following a contour in three dimensions. A chair back, a boat hull section, a sculpted handrail — each requires the cutter to approach from varying angles. The machine must tilt and rotate while cutting, not between cuts.
Continuous motion changes everything. The control must hold tool-center-point accuracy through the arc. The frame must resist vibration as the head swings. The CAM post must output simultaneous code. Remove any one of these and the profile shows facets, chatter marks, or gouges.
Our team found in a 2025 profiling case that a machine passed a flat test cut but failed on a twisted handrail. The rotary axis accelerated smoothly. The gantry did not. Torsional flex appeared only when the head swung to full tilt. Stiffness under rotation is the hidden requirement.
Project A vs Project B: Profiling Setup Comparison
Two shops bought machines for curved architectural millwork. Project A chose a compact trunnion unit. Project B invested in a gantry machine with a tilting spindle head. Their part sizes differed, and so did their results.
| Factor | Project A — Trunnion Unit | Project B — Gantry Tilting Head |
|---|---|---|
| Workpiece envelope | Small to medium, table-limited | Large panels and long profiles |
| Best profiling type | Compact 3D parts, turned shapes | Long curved beams, sculpted panels |
| Setup count per part | 1–2 with probing | 1 setup on fixed bed |
| Reach on undercuts | Good within table swing | Excellent along full bed length |
| Typical tilt range | ±30° to ±110° | ±110° to ±135° |
| Best fit | Furniture components, precision joinery | Architectural millwork, oversized sculpture |
Project A delivered tight repeatability on small profiled parts. Project B handled eight-foot curved rails without repositioning. However, Project B needed a stiffer gantry to avoid chatter at full extension. Therefore the choice depends on your envelope, not on axis count alone.
Five Steps to Validate a Profiling Machine
Do not accept a demo on soft pine. Do not trust a calibration sheet alone. Run this sequence with your hardest wood and your most demanding profile.
Step 1: Request a Continuous Five-Axis Profile Cut
Supply a test file with a compound curve and varying tilt angles. Watch the tool tip on the control screen. It should follow the path without pauses. Listen for spindle load spikes. Hard maple exposes weakness that softwood hides . Measure surface finish along the full profile afterward.
Step 2: Verify Tool-Center-Point Accuracy Under Tilt
Ask for a test that tilts the head to its extreme while cutting. If the control cannot maintain TCP, the profile drifts at the edges. Request sample G-code. Look for simultaneous rotary and linear commands. Indexed moves disguised as multi-axis output will not hold a true profile .
Step 3: Check Gantry Stiffness at Full Extension
Run the test cut at the far end of the bed. Chatter often appears there first. Ask about gantry construction. Heavy tubular steel filled with damping material holds finish better than thin welded sections. Stiffness at extension separates real profiling capability from a short-bed demo.
Step 4: Match Spindle Torque and Runout to Profiling Loads
Profiling loads vary as the cutter angle changes. A spindle that bogs at high tilt angles produces burn marks. Ask for the torque curve at your cutting speed. Then check runout at the tool holder. A practical target sits below 0.01 mm for clean profile edges .
Step 5: Audit Workholding for Tilted Cuts
Five-axis profiling changes force direction constantly. A fixture that held a flat panel may slip on a tilted surface. Plan vacuum zones or clamps for the actual cutting angles. Probe the workpiece before cutting to confirm position. Without this, operators guess offsets and scrap expensive blanks.
Common Mistakes in CNC Wood Profiling
⚠Attention: Do not use a three-axis toolpath strategy on a five-axis machine. Indexed moves waste the rotary axes and leave facets on curved surfaces. Program continuous toolpaths for profiling work.
⚠Attention: Do not ignore grain direction during profiling. Cutting against the grain at a tilted angle causes tear-out that no feed rate can fix. The USDA Forest Products Laboratory notes that wood density and grain orientation strongly affect cutting resistance . Plan toolpath direction around grain, not just geometry.
⚠Attention: Never skip first-article inspection after a fixture change. A small clamp shift on a curved part creates a large error at the tool tip. Five minutes of checking saves hours of rework.
Another quiet error involves dust extraction. Profiling produces chips from multiple angles. A fixed extraction hood may miss the cut zone at extreme tilt. Confirm the extraction follows the spindle head, or plan manual clearing during long cycles.
Frequently Asked Questions
What is CNC wood profiling?
CNC wood profiling cuts a three-dimensional contour along a part. The tool follows a path in X, Y, and Z while tilting to match the surface angle. Five-axis profiling handles undercuts and compound curves that three-axis machines cannot reach .
Can a 5 axis wood CNC machine profile both softwood and hardwood?
Yes, with appropriate feeds, speeds, and tooling. Hardwood demands more torque and sharper cutters. Confirm the spindle torque curve matches your hardest species before purchase. Ask for a test cut on that species, not on pine.
How much does a CNC wood profiling machine cost?
Entry-level five-axis routers start around $60,000–$90,000. Mid-range production machines run $120,000–$200,000. Large gantry profiling centers exceed $250,000 . Price tracks envelope size, spindle power, and control quality.
What CAD/CAM software supports five-axis wood profiling?
Several platforms support simultaneous five-axis output for wood. Confirm the post-processor matches your machine and control. Test the post with your own geometry before purchase. A capable machine with a weak post produces weak profiles.
How long does it take to learn five-axis wood profiling?
Operators with three-axis experience typically need two to four weeks of focused training. Programming simultaneous toolpaths takes longer. Plan for one champion per shift who owns setup, probing, and first-article checks .
Pre-Purchase Checklist
- ☐ Part envelope and profile complexity documented
- ☐ Hardest wood species and thickest cut identified
- ☐ Continuous five-axis profile cut observed on hard maple
- ☐ Tool-center-point accuracy verified at extreme tilt
- ☐ Gantry stiffness tested at full bed extension
- ☐ Spindle torque curve matched to profiling loads
- ☐ Runout measured below 0.01 mm at tool holder
- ☐ CAM post verified for simultaneous output
- ☐ Workholding plan sketched for tilted cutting angles
- ☐ Dust extraction follows spindle head through tilt range
- ☐ Service access and spare spindle lead time confirmed
- ☐ Operator training plan covers probing and first-article checks
Profiling success comes from the whole system: frame, control, CAM, and workholding working together. Start with your geometry, survive a live profile test, and end with a checklist on the floor. Everything else is brochure noise.